The toolbar
One row, many tools: how the toolbar works and how to make it yours.
WM Keyboard ships 85 tools (panels, sensors, generators, and one-tap actions), but only a handful sit on the toolbar at once. The rest wait one tap away in the toolbox, and you decide which is which by dragging tools between the two.
Pinning and reordering
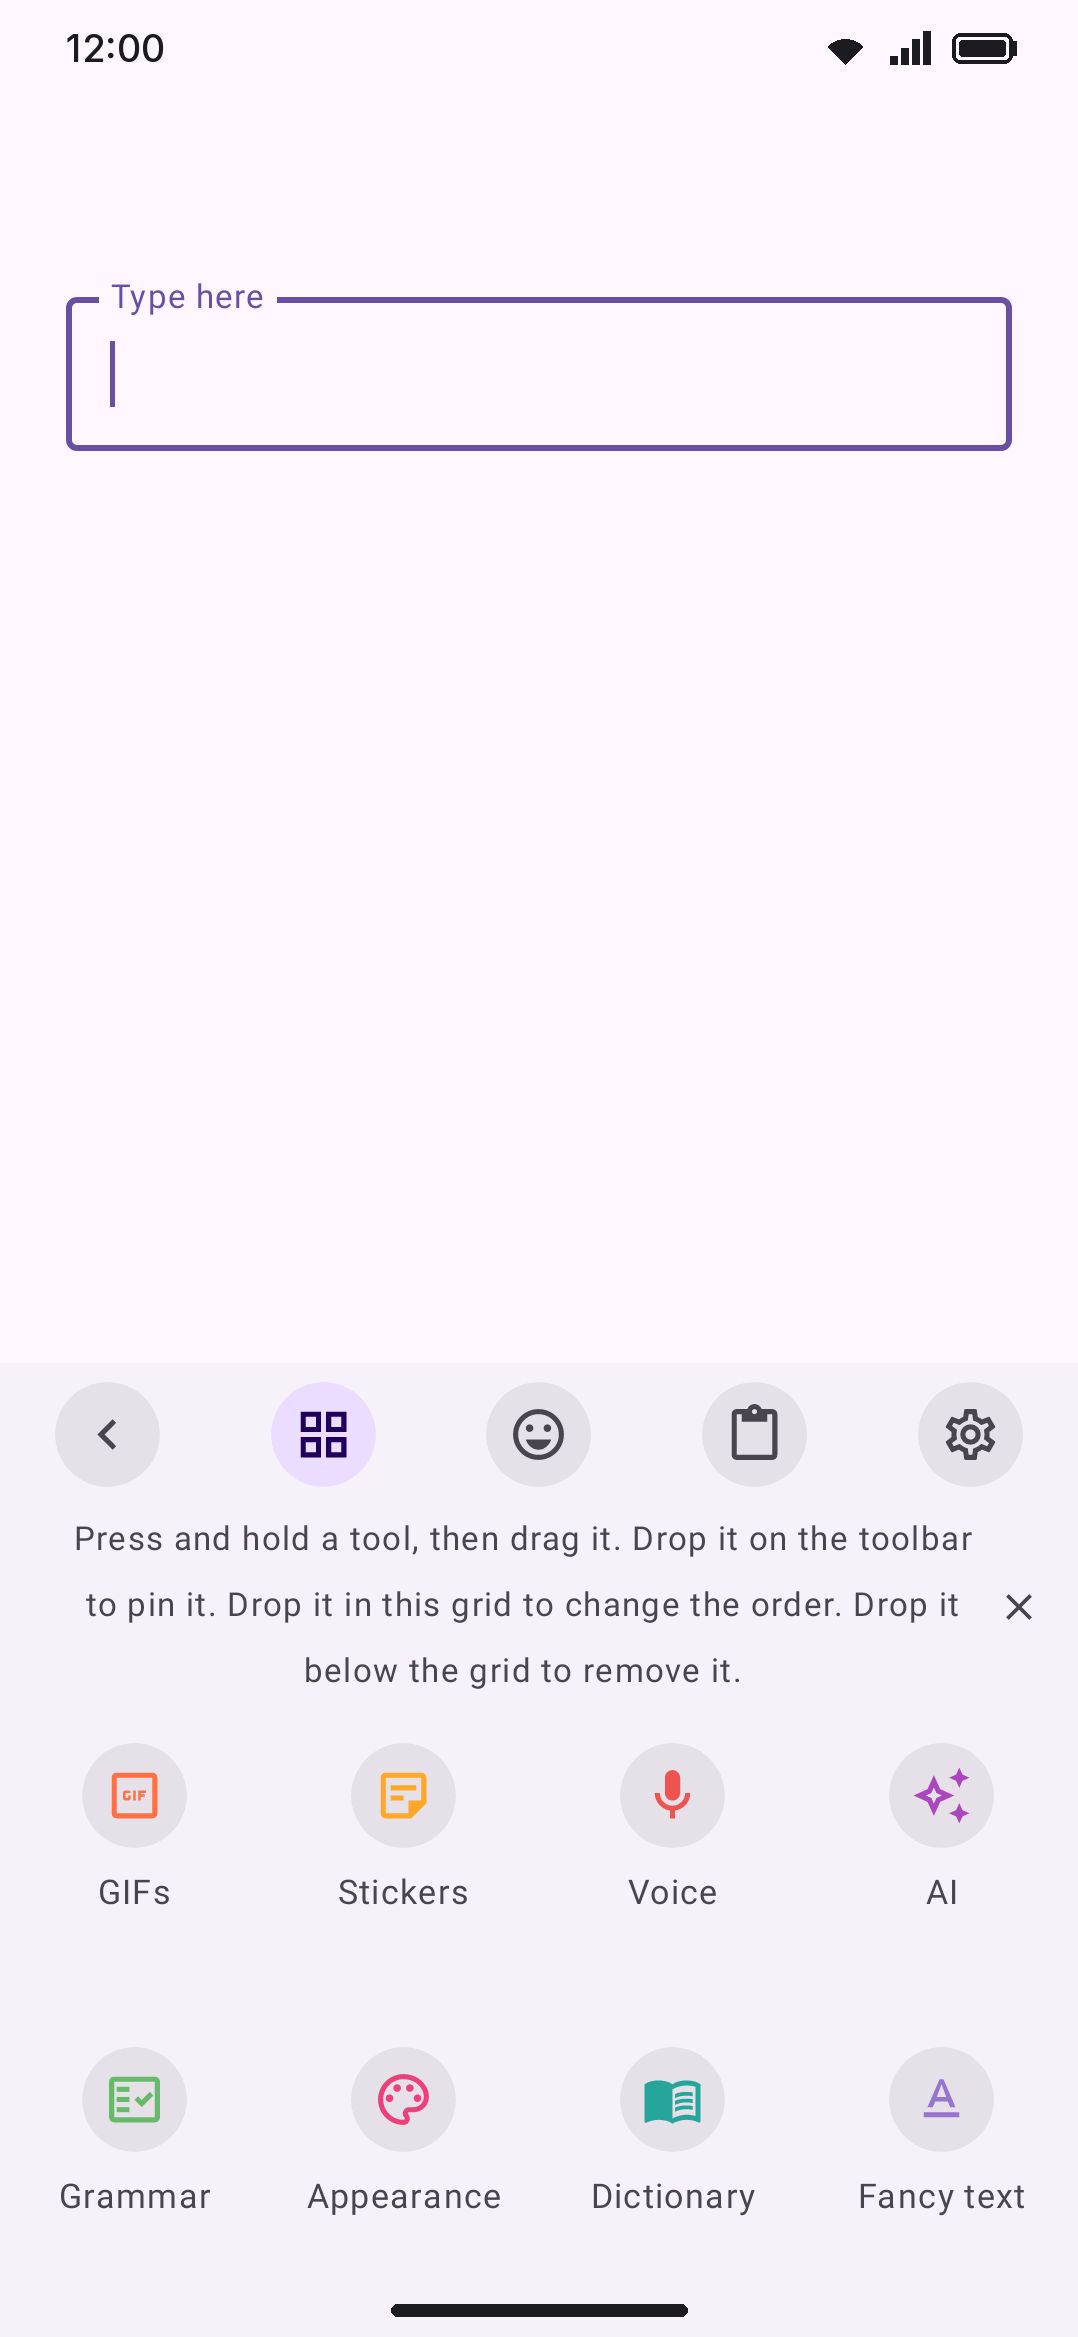
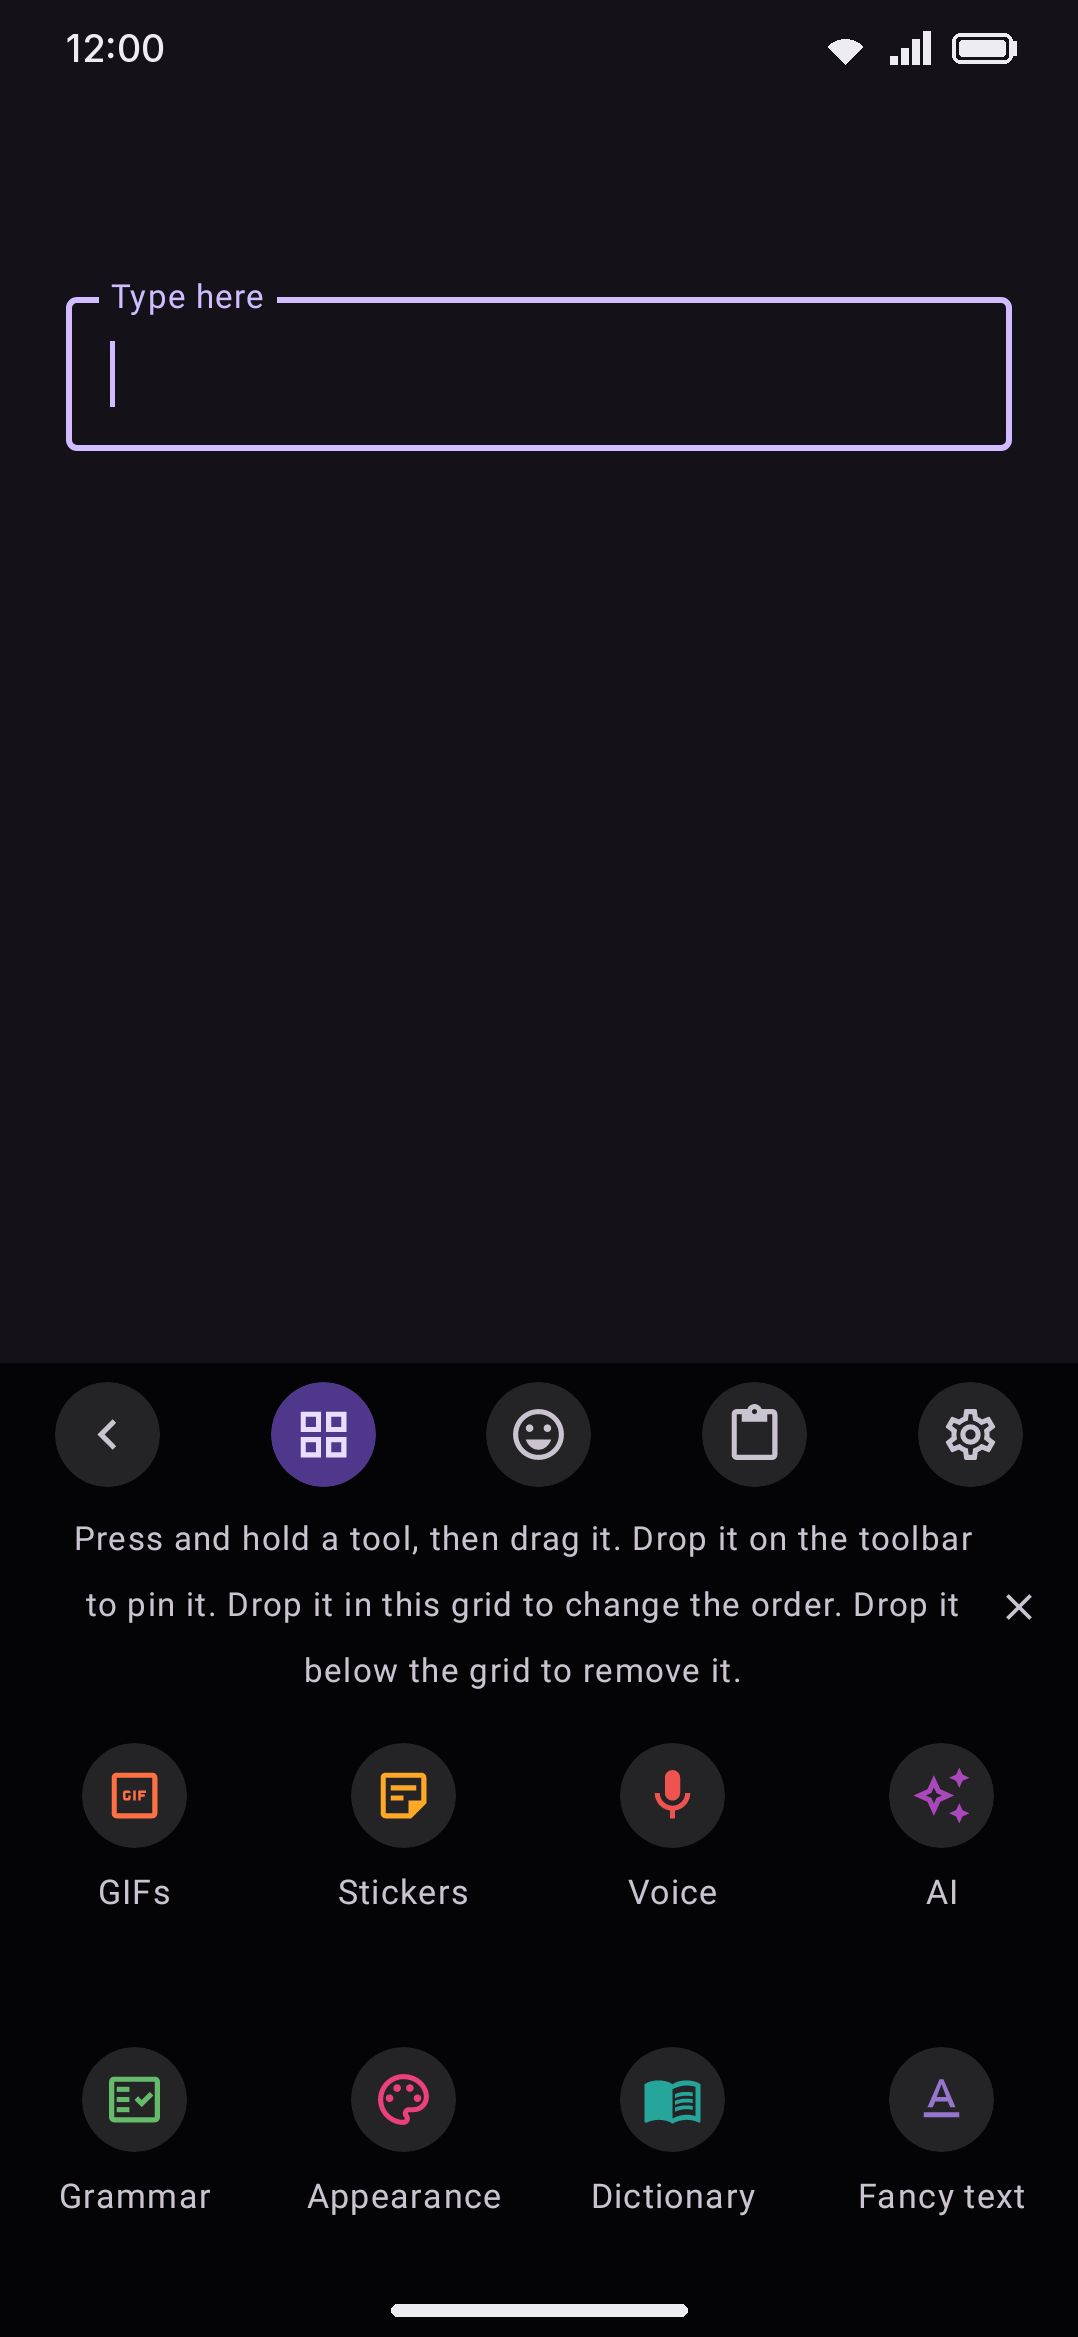
Section titled “Pinning and reordering”The toolbar is a strip of pinned tools. The toolbox, behind the grid button on the toolbar, holds every other enabled tool that isn’t pinned, and a tool never sits in both places at once. Out of the box a phone pins three: Emoji, Clipboard, and Settings. A tablet starts wider, with five on a small tablet (GIF and Voice join the three) and seven on a large one (Translate and Text edit as well); see Size & position. Everything else starts in the toolbox, ranked roughly by how often people reach for it: expressive media first, then everyday text helpers, then keyboard tweaks, with the specialty and sensor tools last.
Open the toolbox and hold-and-drag a tool:
- Drag a toolbox tool up onto the toolbar to pin it.
- Drag a tool around inside the toolbox grid to reorder it there.
- Drag a pinned toolbar tool back down into the toolbox to unpin it.
- Drop a tool on the middle of another tool to put the two in a folder. See Folders.
It’s the same drag-to-pin model Gboard uses. The first time you open the toolbox, a hint explains the drag. Dismiss it and it only resurfaces occasionally as a reminder.
Picking Recommended rather than Everything during onboarding only decides which tools are enabled, meaning visible anywhere at all. It leaves the pinned row alone. The row stays at whatever your device shipped with until you drag something onto it yourself. If a tool you expected isn’t in the toolbox, open WM Keyboard Tools and turn it back on.
A keyboard mode can carry its own pinned toolbar, separate from this global one. Switching into that mode swaps the whole row. The modes page covers how that works.
Hold a tool for a second action
Section titled “Hold a tool for a second action”A pinned tool answers three gestures: a tap runs it, a hold that stays put does a second thing, and a hold that drags picks it up. The hold runs when you lift your finger, and only the hold: the tap’s action does not run as well.
Out of the box, the tools that come in pairs hold to their partner, the same pairs HeliBoard uses:
| Tool | Hold runs |
|---|---|
| Clipboard | Paste |
| Paste | Clipboard |
| Copy | Cut |
| Undo | Redo |
| Redo | Undo |
| Select word | Select all |
| Select all | Select word |
Every other tool holds to its own settings page. The cursor tools have pairs too (left and right to a word left and right, up and down to page up and down, word left and right to the start and end of the line), but their hold repeats the move, so the pairs only take over once Hold to repeat on the toolbar is off; see Text editing.
All of it is yours to change. Open any tool’s own page and the Press and hold on the toolbar row picks another tool for its hold to run: hold Text edit to open the clipboard, say. The row shows what a hold does right now. The picker’s first row, Default, says what the tool does untouched. Settings page gets the settings page back on a tool that has a pair, and Does nothing is for a tool whose hold you would rather have do nothing at all: it still buzzes, and nothing opens.
How long a press has to last before it counts as a hold is Press and hold delay, under WM Keyboard Appearance Toolbar. At System it follows the touch and hold delay in your phone’s accessibility settings; slide it up to 1.5 seconds if holds keep firing when you meant to tap, or down to 100 ms for a quicker hold. It applies to every hold on a tool, in the toolbox as well as on the bar.
The third gesture is optional too. Rearrange by dragging, under WM Keyboard Appearance Toolbar, is on by default; switched off, a hold that drifts stays a hold and ends as whatever a stationary one would, and the toolbox is where you rearrange the bar instead.
- It changes the toolbar only. In the toolbox a hold always opens the tool’s settings, and the Tools screen still lists every tool, so the settings page never goes out of reach.
- The bound tool runs whether or not it is on the toolbar or even enabled. Binding it is reason enough.
- The row is on every tool’s page, pinned or not, so you can set a hold before you pin the tool. It does nothing until the tool is on the bar.
- Cursor tools that repeat on hold, Selection mode while its hold arms the mode, Trackpad while its hold opens the pad, and Voice while its hold picks a voice typing mode, say so instead of offering a second action. One gesture cannot do both. See Repeat cursor tools on hold under Typing.
- Binding a tool to itself is refused, since that is a slow tap.
- Nothing is shown while you hold. The buzz says the hold registered; the tool washes out and the drag notice appears only once your finger moves.
What does this button do?
Section titled “What does this button do?”Inside a tool’s panel, most buttons are bare icons: the clipboard’s filter and list switch, a refresh arrow, a swap, the speaker in the dictionary. Press and hold any of them and its name pops up above it for a moment. A hold that shows the name doesn’t press the button, so it’s safe to ask before you tap. Buttons that already have a hold of their own keep it, and a button with its name written on it doesn’t need one.
Two ways to draw the toolbox
Section titled “Two ways to draw the toolbox”Toolbox layout picks between them:
- Icons (the default) is the grid you’ve seen above: a round icon per tool with its name in small text underneath, 4 to a row. Compact, and the most tools on screen at once.
- Pills gives each tool a wide rounded row instead, two to a row. The icon sits on the left in the tool’s own color and the name reads across the middle at full size. Tools that open something get a small arrow on the right, and the arrow is the reason to use this layout. Appearance and Clipboard take you somewhere. Flashlight and Undo just do their thing and leave the keys where they are. The arrow tells you which is which before you tap.
Two settings apply to pills only. Pills per row goes from 1 to 3: one gives every name the full width, and three really only fits in landscape. Fill pills with the tool color paints the whole pill in the tool’s accent color and flips the icon and name to white, or to near-black where the accent is too pale for white to read on. It needs Colorful tool icons (under WM Keyboard Tools) on, since that’s where the colors come from.
Either layout still drags the same way: hold a tool to pick it up, drop it on the toolbar to pin it or elsewhere in the grid to reorder. The tool that follows your finger is drawn in the shape it will land in, and changes between them as you move: a full-width pill with its name over a pill toolbox, narrowing into the toolbar’s circle as you carry it up to the bar, and widening again on the way back down. The grid closes up behind it as you go, and the drop keeps whatever arrangement you were looking at. The tool stays where you let go of it rather than flicking home and back.
Scrolling or pages
Section titled “Scrolling or pages”By default the toolbox is one grid that scrolls up and down. Turn on Swipe the toolbox in pages and it splits into fixed pages you swipe sideways instead, with dots underneath showing where you are. Tools per page sets how many each one holds (12 by default, anywhere from 4 to 40). To move a tool onto another page, drag it to the left or right edge of the toolbox and hold it there for a moment: the page turns under your finger, and you can keep going or drop it there.
The trade is muscle memory against reach. Paging keeps every tool at the same spot on the same page every time, so you learn where things are instead of hunting for them mid-scroll. Scrolling gets you to the far end faster. Paging works with both layouts.
Pick a page size that’s a multiple of your row size and every page comes out with full rows. Ask for more tools than fit the panel’s height and the page will scroll as well as swipe, which rather defeats the point.
Folders
Section titled “Folders”A long toolbox is easier to scan in groups. Hold a tool, drag it over the middle of another one, and let go when that tool lights up: the two become a folder in that tool’s place. The edges of a tool still mean “put it beside this one”, so reordering works as before; only the middle files it. Drop more tools on the folder to add them, and drop a toolbar tool there to unpin it straight into the folder.
A new folder is called Folder. Tap it to open it in the toolbox, and the header shows what you can do with it:
- Tap the name to rename it. The keys come back under a shorter toolbox, the way they do for the other search boxes on the keyboard, and Enter or the check button keeps the name. Dictionary and Grammar might become “Language”, for example.
- Drag the tools inside to change their order in the folder.
- Drag a tool onto the header to take it out of the folder. The header turns into a drop target while you drag.
- The pin button puts the folder on the toolbar, after your pinned tools. A tap on it there opens the toolbox at that folder. Tap the pin again to take it off. You can also drag the whole folder up onto the toolbar to pin it.
- The ungroup button breaks the folder up, and its tools go back to cells of their own.
The toolbox animates all of this. A folder opens by growing out of its cell and settles back into that spot when you leave it. A tool held over another makes that one swell to meet it, and the tool in your hand shrinks a little as if about to drop in. A new folder pops into place, and one that takes a tool gives a small bounce. Reduce motion under WM Keyboard Accessibility turns every one of these off.
Hold a folder and drag it to move the whole folder around the grid. Back, the arrow in the header, or the system back gesture leaves the folder before it closes the toolbox. A folder left with a single tool is no longer a folder, and that last tool goes back to a cell of its own. Folders are saved with your settings, so a backup and restore brings them back. One set of folders is shared by every keyboard mode; a mode with its own tool order just moves each folder to where its first tool falls.
Searching the toolbox
Section titled “Searching the toolbox”While the toolbox is open, the toolbar shows a magnifier next to its back button. Tap it and the search takes over the whole keyboard, the toolbar included, with a back button of its own at the left of the search box. The keys come back underneath, and you type the name with the keyboard itself. Every tool that matches is listed, including the ones inside folders, with names that start with what you typed first. Tap one to use it, or press Enter to open the first match. Results fade in one after another, and slide to their new places as you keep typing. Close the search with its back button, its X button or the system back gesture, and the toolbox is the way you left it. To take the magnifier off the toolbar, turn off Toolbox search under WM Keyboard Appearance Toolbox.
Browsing every tool
Section titled “Browsing every tool”All 85 tools have a settings screen under Settings → Tools, each with its own Enabled switch plus whatever options it carries.
Colorful tool icons sits at the top of that screen and is on by default. It tints each tool’s icon with the tool’s own accent color, in the toolbox grid and down this settings list. The pinned row on the keyboard itself is the exception: those icons always take the theme’s toolbar-icon color, so the bar stays one color whatever this is set to. Turn the setting off and the toolbox falls back to that same plain foreground color.
Below that, the list is grouped by what the tools do: Panels, Scanners, Online tools, Create and convert, Keyboard modes, Cursor, Quick actions, and Utilities. Any tool a future group forgets to claim lands in an Other catch-all, so nothing goes invisible.
A row’s switch enables or disables the tool everywhere at once: toolbar, toolbox, and hardware leader key. Tapping the row itself opens that tool’s own settings.
To keep a tool working but out of the toolbox grid, open its page and turn off Show in toolbox. It still runs from the toolbar if pinned, from its keyword, from selection actions and from the hardware leader key; the grid just loses one cell. Each tool has its own switch. A small tune icon marks the tools with settings beyond the switch. Most have them. Four don’t, because their real options live on other screens: Settings, Sound & haptics, One-handed, and Resize.
Related pages cover most of these tools in depth: Clipboard manager, Snippets & text expansion, Notes, Text editing & cursor tools, Trackpad, Handwriting, Camera tool, Gallery, Voice typing, Offline voice (Whisper), Scanner (OCR, QR, documents), Translate, Search & Wikipedia, AI tools, AI reply, Utility tools, Media controls, Calendar, App launcher, Resize, and Instruments (flashlight, compass, level, moon phase, weather). The master tool list is being built out on Reference → Tools.
Panels and captured keys
Section titled “Panels and captured keys”Most tools that need input open a panel that captures the keyboard: search boxes, the AI prompt, the typing-test scorer, a plugin’s own text field. While that panel is focused, what you type goes into its box rather than into the app behind it. Backspace is where this matters most. Word-deleting the field behind an open panel would edit text you can’t currently see, so the keyboard routes deletes into the panel for as long as it’s open. Space and Enter stay in the box too: Enter runs the box’s own action (search, next match, keep this spelling) rather than dropping a newline into the app behind the panel.
A captured box is a real text field
Section titled “A captured box is a real text field”Those boxes type like the app’s own field, not like a one-way buffer:
- A caret you can move. Tap anywhere in the text to put the caret there, and the next letter, backspace or swipe lands at that spot rather than at the end. The spacebar scrub, a hardware keyboard’s arrows, Home and End, and a layout’s own arrow keys all move it, and Del deletes forward from it. Long text scrolls to follow the caret instead of trailing off behind an ellipsis.
- Selection. Long-press a word to select it. A handle at each end drags the selection wider or narrower, and a bar over it offers Cut, Copy, Paste and Select all. Long-press where there is no word, or anywhere in an empty box, and the caret moves there with a Paste bar over it (plus Select all once there is text); a tap anywhere else puts it away. The toolbar’s Paste tool and a layout’s Paste key paste into the box too, at the caret, for as long as it has the keys. Typing, a swipe, a suggestion or backspace replaces the selected text, as in any field, and a tap puts the caret back. Shift with a hardware keyboard’s arrows selects too. The handles and the bar are drawn inside the keyboard, never as a window of their own over the app.
- Glide typing. Swipe a word into a search box the same way you swipe one into a message. Each swipe adds a word, spaced off the one before it; the last word of a query just waits for its space until the next swipe, so the results are never held back a word. A chained swipe through the spacebar lands one word per leg, exactly as it does in a field. The two numeric boxes, the calculator’s expression and the converters’ amount, are the exception: there is no word list to decode a stroke against on a keypad.
- Voice. A mic at the right end of the box’s suggestion strip dictates into the box, at the caret. See Dictating into the keyboard’s own boxes.
- Suggestions. The box gets the suggestion strip in the row directly above the keys, with the same slots, the same size and the same words the field’s own strip would offer. Tapping one replaces the word at the caret. The panel gives up that row rather than the keyboard growing one, so opening a search box doesn’t move the keys under your thumbs. The emoji panel’s search box is the one that reads differently: it’s searching the emoji catalogue rather than writing prose, so its strip offers terms that catalogue can answer. See Searching for an emoji.
- Undo. Once you’ve changed the text in one of these boxes, an undo arrow appears at the right end of its suggestion strip, before the mic. Each press takes back one step: a burst of typing counts as one step, and a paste, a picked suggestion or a cut is a step of its own. The strip and its arrow show while suggestions are on. It covers the note editor, the clipboard’s edit box, the AI prompt and chat, find and replace, and every search box. The arrow goes away once there’s nothing left to undo, and a box that opens on new text starts with no history.
On a short screen, a phone turned sideways most of all, the panel is what gives way. A captured box with the keys back underneath, or a tool that grows above the keyboard for more room (the AI reply panel, an AI chat, or any tool you have dragged taller), keeps the keyboard to at most 80% of the screen’s height, and the panel shrinks to fit rather than squashing the keys. If the screen still can’t hold both, the panel is measured against what’s left once the keys are paid for, so the keys under a captured box always keep their full height. It never shrinks below its own header, so the box and the back arrow always stay in reach.
Making a tool taller
Section titled “Making a tool taller”A tool that takes the keyboard’s place (AI, AI reply, translate, the converters, the dictionary and the rest) has the same short bar across its top edge. The calculator, both converters and the calendar all open at the keyboard’s own height, so switching between them doesn’t move the app above; their keypads and the month grid shrink to fit instead. Drag it up for a taller tool, down to go back to the height it opens at. Where you let go is kept, and it’s one height for every such tool. The clipboard and the GIF and sticker panels keep their own bars and heights, described on their pages. With no room to grow, the bar isn’t drawn.
Making a panel over the keys taller
Section titled “Making a panel over the keys taller”A panel that shrinks so the keys fit under it has a short bar across its top edge: the clipboard while it’s stacked over the keys or searched, a snippet search, the dictionary’s, the GIF and sticker searches, the web and image search, a note being written and the rest. Drag the bar up and the panel grows over the app, so more results fit above the keys; the keys stay where they are. Drag it down to go back to the panel’s own compact height. Where you let go is kept, and it’s one height for every such panel, so the keys sit at the same place whichever one is up. The same 80% ceiling applies, and with no room to grow the bar isn’t drawn. The height is also a slider, Height over the keys, under WM Keyboard Clipboard. With TalkBack on, the bar offers Make the panel taller and Make the panel shorter as actions.
Nothing typed into a captured box is learned. A search query isn’t writing, so it never reaches your personal dictionary, your word pairs or your typing stats.
Sensor and generator tools work differently. Compass, Level, Moon phase, Weather, Calendar, Password generator, Media controls, Camera, and the scanners all replace the key rows outright instead of intercepting keystrokes. There’s no letter row to type on while they’re open, so there’s nothing to intercept.
Calculator, Unit converter and Currency converter fall between the two. Each draws its own keypad where the key rows were, and each also takes a physical keyboard’s keystrokes into its own display: digits and operators build the expression or the amount, backspace trims it, and Enter runs = in the calculator instead of reaching the field behind. Handwriting is the other in-between case. While ink is waiting to be recognized, backspace throws that ink away rather than deleting text you already committed.
To back out of any open panel:
- Tap the back arrow that replaces the toolbox button while a panel is open.
- Press the system Back button or gesture, which closes the panel instead of dismissing the keyboard.
- On a hardware keyboard, press Esc, if Esc closes the tool is on (it is by default).
Which tools work before you unlock your phone
Section titled “Which tools work before you unlock your phone”Direct boot is the window right after a restart, before you’ve entered your PIN or pattern for the first time. The keyboard can’t reach its stored data yet. Some tools work anyway.
WM Keyboard exposes 49 of its 85 tools during that window: everything that’s pure arithmetic, a sensor reading, or a control over the keyboard’s own on-screen state. That’s Emoji, Text editing, Trackpad, Numpad, Symbols, One-handed, Split, Floating, Keep on screen, Resize, Hide keyboard, Appearance, Autocorrect, Sound & haptics, Incognito, Selection actions, English words, Find & replace, Modes, Fancy text, Secondary layout, Language, Undo, Redo, Power saving, Calculator, Unit converter, Password generator, QR generator, Flashlight, Compass, Level, Moon phase, Copy, Cut, and all fourteen cursor tools. Paste is the one clipboard button left out: the clipboard itself is credential-encrypted, so before the first unlock the button would be there and do nothing.
The other 31 sit it out until you unlock. That covers anything backed by a file on disk (Clipboard, Snippets, Notes, Camera, downloaded speech or AI models), anything that needs a credential (Translate, the online searches, AI, the paired computers of KDE Connect), anything that reads a content provider behind the lock screen (Calendar), and anything that has to launch a separate activity (Settings, Statistics, the document scanner). None of it is a toggle. The split is automatic, and it only applies before that first unlock.
Hide toolbar & clipboard on lock screen under WM Keyboard Appearance Toolbar is a different thing, and it’s off by default. It hides the entire toolbar rather than filtering it, any time the screen is locked, including long after you’ve unlocked the phone once since the last restart. Turn it on if you’d rather not have a pinned tool or the suggestion strip visible while you reply to a notification from the lock screen. Everything comes back the moment you unlock, even in the text box the keyboard was open in when the screen turned off.
Hardware shortcuts and the leader key
Section titled “Hardware shortcuts and the leader key”With a physical keyboard attached, double-tap Ctrl, the default leader. Then press a letter to jump straight to a tool without touching the screen. About two dozen tools have a default letter: Emoji is E, Clipboard is C, Voice is V. Press T after the leader to open the full toolbox instead, or ? to expand the on-screen hint into a two-column legend of every binding. Hardware keyboards has the full mechanics, plus how to rebind the leader and every letter.
The leader is one switch in a broader hardware-keyboard group. Arrow-key navigation inside an open panel and whether Esc closes a panel are separate switches in the same place, each on by default.
Options
Section titled “Options”- Show the toolbar: on by default. Turning it off reclaims its height for the keys, but also hides suggestions and every pinned tool, so Settings warns you before you do it.
- Swipe down to hide: off by default. A downward flick anywhere on the toolbar dismisses the keyboard.
- Only toolbar with hardware keyboard: off by default. With a physical keyboard attached, drop the on-screen keys and keep just the toolbar strip.
- Reverse order for RTL languages: off by default. Mirrors the pinned tool order when the active layout’s script runs right-to-left.
- Tool layout: Spread out by default. Fixed size packs the pinned tools to the left at one size, Spread out splits the width evenly, and Scroll keeps each tool at a comfortable size and lets the bar scroll sideways.
- Hide toolbar & clipboard on lock screen: off by default. See above.
- Toolbar top padding and Toolbar bottom padding: 4dp and 0dp by default, each adjustable from 0–24dp. They add space above and below the tools, and the keyboard grows by the same amount.
- Tool labels: off by default. Shows each tool’s name under its icon. The label is 10sp by default.
- Reset pinned tools: restores the toolbar to Emoji, Clipboard, and Settings, after a confirmation. This always resets the global row, even while a mode with its own pinned toolbar is active. To change what a mode itself pins, edit that mode instead. On a tablet, reset writes the shipped three and the tablet’s own default immediately re-expands it, so you get five or seven back rather than three. It touches the pinned row alone; the grid has its own row below.
- Reset toolbox order: puts the toolbox grid back in the order it shipped in, after a confirmation. Only shown once you’ve dragged something. See below.
- Tool circle radius: 20dp by default (a full circle behind each icon, Gboard-style). Lower values give a rounded square, and 0 removes the background entirely.
- Tool background shape: Rounded by default. The outline of that background, from the same set of shapes the keys and popups use. Only shown while the radius above is over 0, since at 0 there’s no background to shape.
- Tool background width: 38dp by default, adjustable from 38–64dp. 38 is the classic circle. Wider stretches it into a pill, which pairs well with a low corner radius and a scrolling bar.
- Toolbox layout: Icons by default. Pills is the wide-row alternative, see above.
- Toolbox grid size: 4 tools per row by default, adjustable from 3–6. Icons layout only.
- Pills per row: 2 by default, adjustable from 1–3. Pills layout only.
- Fill pills with the tool color: off by default. Pills layout only, and needs Colorful tool icons on.
- Swipe the toolbox in pages: off by default. See above.
- Tools per page: 12 by default, adjustable from 4–40. Only shown once paging is on.
Details & edge cases
Section titled “Details & edge cases”- A tool that’s disabled under WM Keyboard Tools disappears from the toolbar, the toolbox, and its hardware leader-key letter all at once, since there’s a single switch, not three.
- Five tools ship native libraries the Lite build leaves out, so they are Full edition only: Handwriting, QR scan, and Document scanner need ML Kit, OCR needs ML Kit and Tesseract, and Grammar needs Harper’s. Lite ships 78 tools instead of 83. A build-gated tool gets no settings row at all, so you never meet a switch that won’t turn on.
- Document scanner has a second gate on top of that one: it’s an activity inside Google Play services, not this app’s own code, so it’s hidden on any device without Play services even on Full edition only. OCR and QR scan stay put there, since their models ship in the APK and run with no Play services at all.
- Reset toolbox order puts the grid back in the order it shipped in, after a confirmation. It sits under WM Keyboard Appearance Toolbar right below Reset pinned tools, and only appears once you have actually dragged something. It leaves the pinned row and which tools are enabled alone. Reset pinned tools is the mirror of it.
- Toolbar reordering is per-installation, not per-language. Pinning a tool applies everywhere, not only while a particular language is active. A keyboard mode’s own toolbar override is the one exception. See above.
- The toolbox shows only tools that are both enabled and not already pinned, so enabling a tool that’s already pinned won’t create a second entry in the toolbox.
- A tool pinned to the toolbar stays a member of its folder but isn’t shown inside it. Unpin it and it is back in the folder. A folder whose tools are all pinned or hidden disappears from the grid until one of them comes back.
- The search lists results only. While it is open you can tap a result or hold it for its settings, but nothing can be dragged in a filtered grid.
- With paging on, a drag reorders within the page you’re holding it over. The pages don’t flip under your finger, so moving a tool to another page means dragging it onto the toolbar first, then off again on the page you want. Dragging up onto the toolbar to pin works from any page.
- The pill layout’s arrow follows what the tool actually does, not what kind of tool it is. Document scanner gets one because it opens Google’s full-screen scanner, and Settings gets one because it opens the settings app, even though neither is a keyboard panel.
- Tool icon colors only apply in the toolbox and the settings list, and only when Colorful tool icons is on. With it off, those icons use the theme’s plain foreground color, whatever per-tool override you’ve set.