
Clipboard manager
History, pinning, search and rich media, with password hygiene built in.
The clipboard tool keeps a running history of what you copy: text, images, files and more. A paste from ten minutes ago is still one tap away instead of gone the moment you copy something new. On a phone it’s one of only three tools pinned to the toolbar out of the box, alongside Emoji and Settings. A tablet starts wider, because three icons across a twelve-inch bar is mostly empty space. A small tablet pins five (Emoji, GIF, Clipboard, Voice, Settings) and a large one pins seven, those five plus Translate and Text edit. Clipboard is in all three sets.
Opening the panel
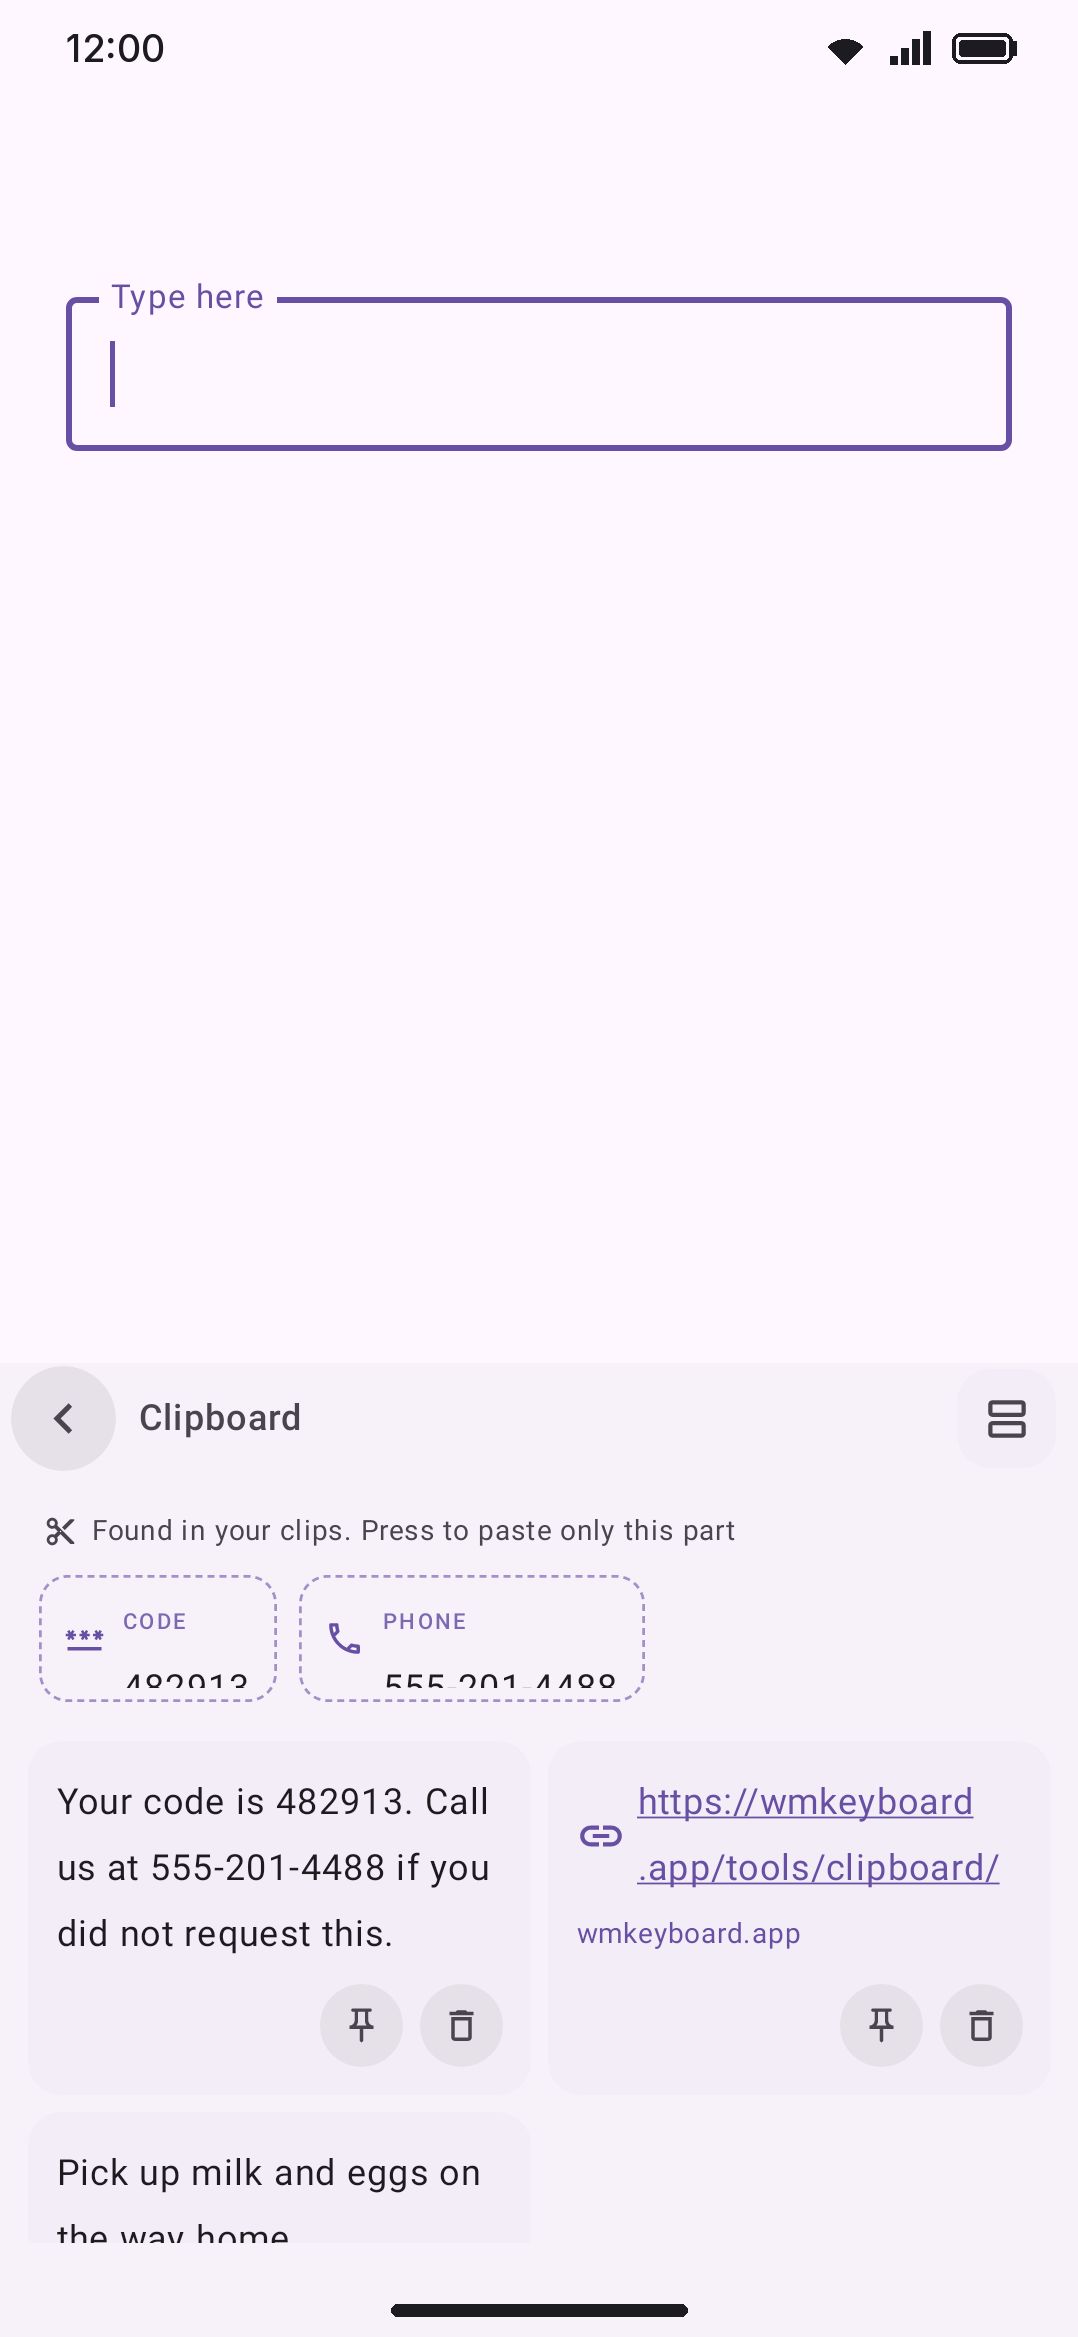
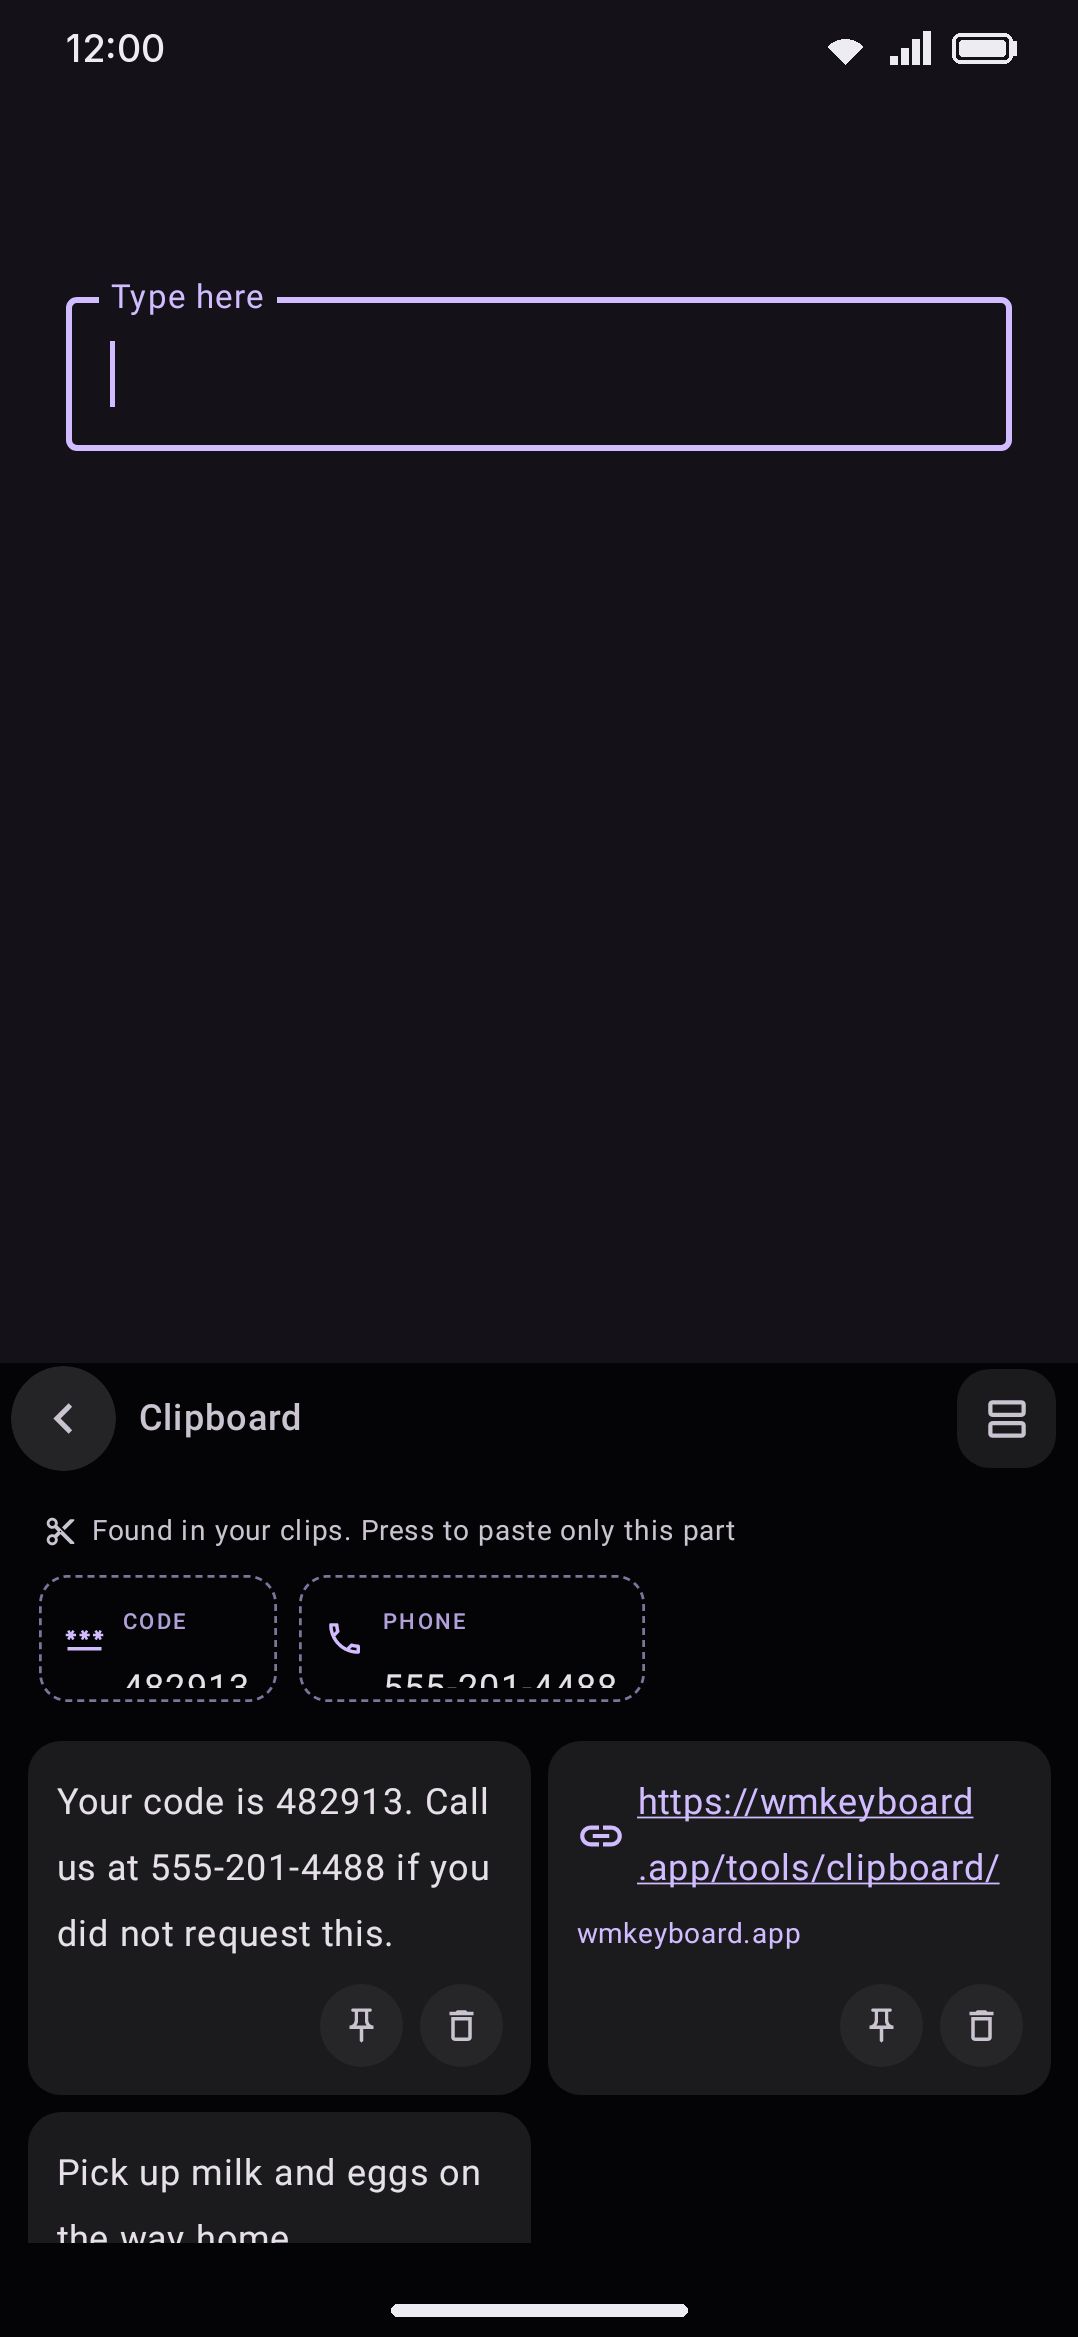
Section titled “Opening the panel”Tap Clipboard on the toolbar: the clipboard with lines of text on it. The empty clipboard beside it, if you pinned one, is the Paste tool, which pastes your latest copy without opening anything. If you unpinned Clipboard, open the toolbox and tap it there. See the toolbar for how pinning works. On a hardware keyboard, use the leader key: double-tap Ctrl, then press C.
Cards lay out in a staggered grid, two columns by default, rather than a fixed one, so a short text clip doesn’t get stretched to match a tall image beside it. Pinned clips sort first by default (flip that to put them last instead). Tap any card to insert it. Copying the same content again moves the existing card back to the top rather than adding a duplicate.
Making the panel taller
Section titled “Making the panel taller”The panel opens as tall as the keyboard. A short bar sits across its top edge: drag it up and the panel grows over the app, so more clips fit and there’s less to scroll. Drag it down to shrink it again, as far as the keyboard’s own height. The app stays still while you drag and moves once, when you let go. Where you let go is kept, and the panel opens that tall from then on. It’s the same setting as Panel height under Options, where the reset button takes it back to the keyboard’s height. The panel never covers more than most of the screen, so on a short screen or with the phone sideways it stops earlier, and with no room to grow at all the bar isn’t drawn. The height changes only the history: a search, or a clip open in the editor, still shrinks the panel so the keys fit under it. A search has its own bar for that, the one every panel over the keys shares. With TalkBack on, the bar offers Make the panel taller and Make the panel shorter as actions.
Clipboard and keys together
Section titled “Clipboard and keys together”The keyboard button at the end of the panel’s header stacks the clipboard over the keys. The panel shrinks to its header, the tabs if they’re on, and about two rows of clips, and the keys come back underneath it, typing into the app as usual. The strip of copied fragments steps aside to leave the clips that room; tap the button again to see it. Paste a clip, type a sentence, paste the next one, without opening and closing the panel in between. The height bar on top now sets how tall the stacked panel is, not the full one: drag it up for more clips over the keys. That height is the one every panel over the keys shares. Tap the button again to give the clipboard the whole keyboard back. Stacking lasts for that visit only: close the panel and it opens full again next time. This needs Full-screen clipboard panel under Options, which is on by default; the word suggestions don’t show while the panel is stacked.
Grid or list
Section titled “Grid or list”The square button beside the search box switches the history between the grid and a list. The list gives each clip a whole row: the text across the full width, up to three lines of it, with the pin and delete circles at the end, and a picture as a small thumbnail at the start of its row. It’s the easier one to read when your clips are long text. The button shows the view a tap takes you to, and the choice sticks. It’s the same setting as History layout under Options. The button is a cell of the panel layout (Grid or list switch in the component picker), so you can move it or drop it. With the full-screen panel on, it sits at the right end of the header.
Numbered clips
Section titled “Numbered clips”Turn on Number the clips and every clip gets a small number: at the start of its row in the list, and next to the pin in the grid, so a card never gets taller for it. The number belongs to the clip, not to the spot it’s drawn in. Search the history and the results keep the numbers they had, so the third clip is still number 3 when it’s the only match. Numbers follow the panel’s order from the top, pinned clips included. With the tabs on, each tab counts its own clips: the first pinned clip is 1, and so is the first unpinned one.
Pinned and unpinned tabs
Section titled “Pinned and unpinned tabs”Turn on Pinned and unpinned tabs and two tabs sit over the history: Unpinned, where the panel opens, and Pinned. Each shows how many clips it holds; tap one, or swipe sideways across the history, to change tabs. With swipe to delete on, a swipe that starts on a clip still acts on the clip. Pin a clip and it moves across to the Pinned tab, and unpin it to send it back, so the clips you keep for good are never in the way of a fresh copy. Since the clip leaves the tab you’re looking at either way, a bar at the bottom says where it went, “Pinned. It is in the Pinned tab now”, with an Undo that puts it back, so a swipe that pinned never looks like one that deleted. A search looks through both tabs at once, and the tabs step aside while it runs. With the tabs on, Pinned entries last has nothing left to do, so it’s greyed out.
Or leave the history in one list and turn on Outline pinned clips: each pinned clip gets a thin border in the accent color, the same color as its lit pin, so it stands out from across the panel and not only from its pin circle.
Columns, lines and times
Section titled “Columns, lines and times”Three settings change how much each clip shows. Grid columns sets how many columns the grid has, one to four (two by default): more suits a history of short text, fewer gives long text and pictures room. The list is always one clip per row. Lines per clip sets how many lines of text a clip shows, up to 20, in both views. Its default, Auto, is six lines on a card and three in a row. Longer text ends in an ellipsis. Time on each clip puts a small time next to the number: Time copied reads “5 min. ago”, and Time left counts down to when the expiry deletes the clip. A pinned clip, or any clip while expiry is off, has no time left to show. The times update while the panel is open.
Line spacing sets how far apart a clip’s lines sit, from 100% (as tight as the font allows) to 200%, default 130%, so more short lines fit on a card.
However many lines you ask for, a clip’s preview is cut before it’s laid out: at the line after the last one shown, and never past 4,000 characters. A clip that holds a whole document costs no more to draw than a short one.
Editing a clip
Section titled “Editing a clip”Press and hold a text clip and tap Edit in its popup. An editor opens where the history was, as tall as the panel, with the keys back underneath it, so the keyboard grows upward while you edit. On a phone held sideways it gets whatever room the keys leave. Your typing goes into the clip rather than into the app you’re writing in. Enter starts a new line. Tap the text to move the cursor, or use the spacebar and arrow keys like anywhere else. Press and hold a word to select it, with Cut, Copy, Paste and Select all over it, or press and hold anywhere past the end of the text, the empty part of the box included, to put the cursor at the end and get Paste there. Save keeps the change and Cancel (or Back) leaves the clip as it was.
An edited clip keeps its place in the history, its number, its pin and its age, so it doesn’t jump to the top and push the others around. It does get a small pencil mark to the right of its pin button (or at the end of the card when the buttons are off). The mark is only a label and does nothing when tapped. The clip’s details show when it was last edited, under when it was copied. A few things do change:
- Rich text becomes plain text once you change it, since the old formatting was for the old words. The editor says so before you save. Saving without a change keeps the formatting.
- A link’s fetched preview is dropped, and whether the clip counts as a link at all is worked out again from the new text.
- If the new text matches another clip, the two merge into the one you edited, the same way copying something twice never makes two entries.
- If the clip expired while you had it open, saving adds your text back as a new clip instead of losing it.
Images, files, folders and videos have no text to edit, so their popup has no Edit. Neither does a hidden password or code: the panel never shows its text, and an editor would. Editing only changes the history. What’s on the system clipboard stays as it was.
Every card carries two small circles along its bottom edge: a pin and a delete. Tap the pin to keep a clip out of reach of the expiry and the entry cap. Tap the bin to drop it. Turn off Pin and delete buttons under Options and the circles go: the press-and-hold popup gets Pin (or Unpin) and a red Delete instead. A card also loses the row the circles sat on, unless that row still has something to show for that card: its number, its time, or its “rich text” tag. So a card with none of those shrinks to just its text, and more of them fit. Swiping a card left or right until it slides off deletes it too (with Swipe to pin set, one of the two directions pins it instead), unless you’ve turned off Swipe to delete under Options: then a sideways swipe does nothing, and the card’s press-and-hold popup gets a red Delete button instead. Neither the bin nor the swipe asks first for an unpinned clip. A pinned one is different: the bin, the swipe or Delete in the popup puts up a question over the history, “Delete this pinned clip?”, and only Delete there removes it; Cancel leaves it, and a swiped card slides back into place. Turn off Ask before deleting a pinned clip under Options to have pinned clips go at once too. Either way, once a clip is deleted a bar pops up at the bottom of the panel for five seconds saying Clip deleted, with an Undo button that puts the clip back in the spot it had, pin and all. Delete a few more while the bar is up and it counts them (“3 clips deleted”), and one Undo brings back the lot. If you’ve asked Android for more time under Accessibility, Time to take action, the bar stays up that long instead. Swipe the bar sideways to put it away sooner. Once it’s gone, swiped or timed out, the delete is for good. Don’t want the bar? Turn off Undo a deleted clip under Options.
Deleting a clip also empties the system clipboard when that still holds the clip, so an app’s own Paste can’t bring it back. Deleting an older clip leaves the clipboard alone, since what’s on it is something you copied later. Undo puts a text clip back on the system clipboard too, unless you copied something else while the bar was up. A picture or a file comes back to the history only.
Clearing the history
Section titled “Clearing the history”Turn on Clear button under Options and a bin sits at the end of the search box, or on its own in that spot while the search bar is off. It’s there while at least one clip is unpinned. Tap it and the panel asks first: “Delete 12 unpinned clips? Pinned clips stay.” Delete takes every unpinned clip at once and leaves the pinned ones where they are. It empties the system clipboard as well, whatever it holds, unless that’s one of the pinned clips. Cancel, or a second tap on the bin, takes the question away. With Undo a deleted clip on, the Undo bar then offers all of them back in one tap. On a hardware keyboard the bin is the search box’s neighbour: Enter on it asks, and Enter again deletes.
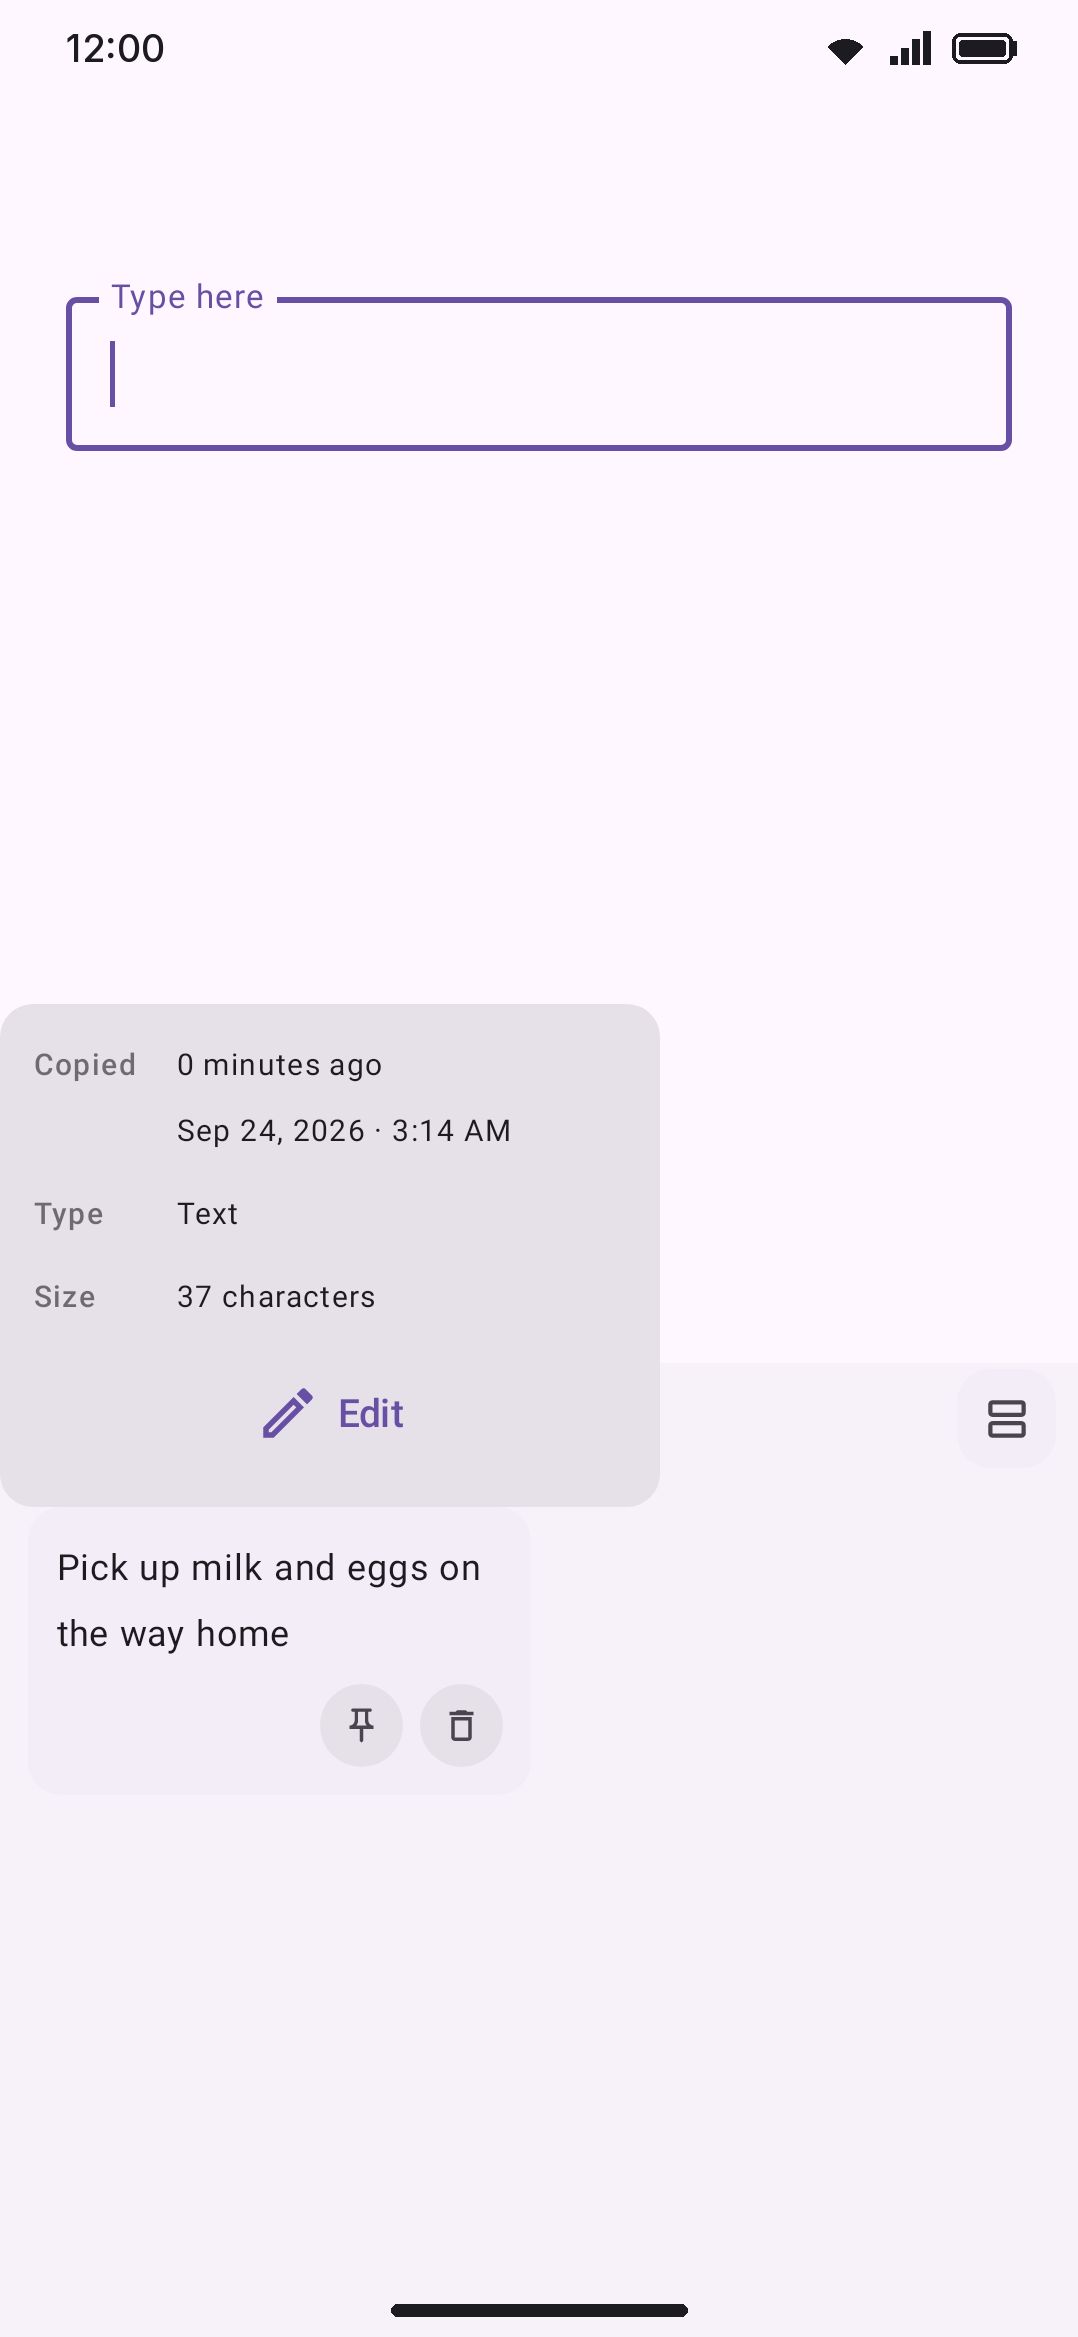
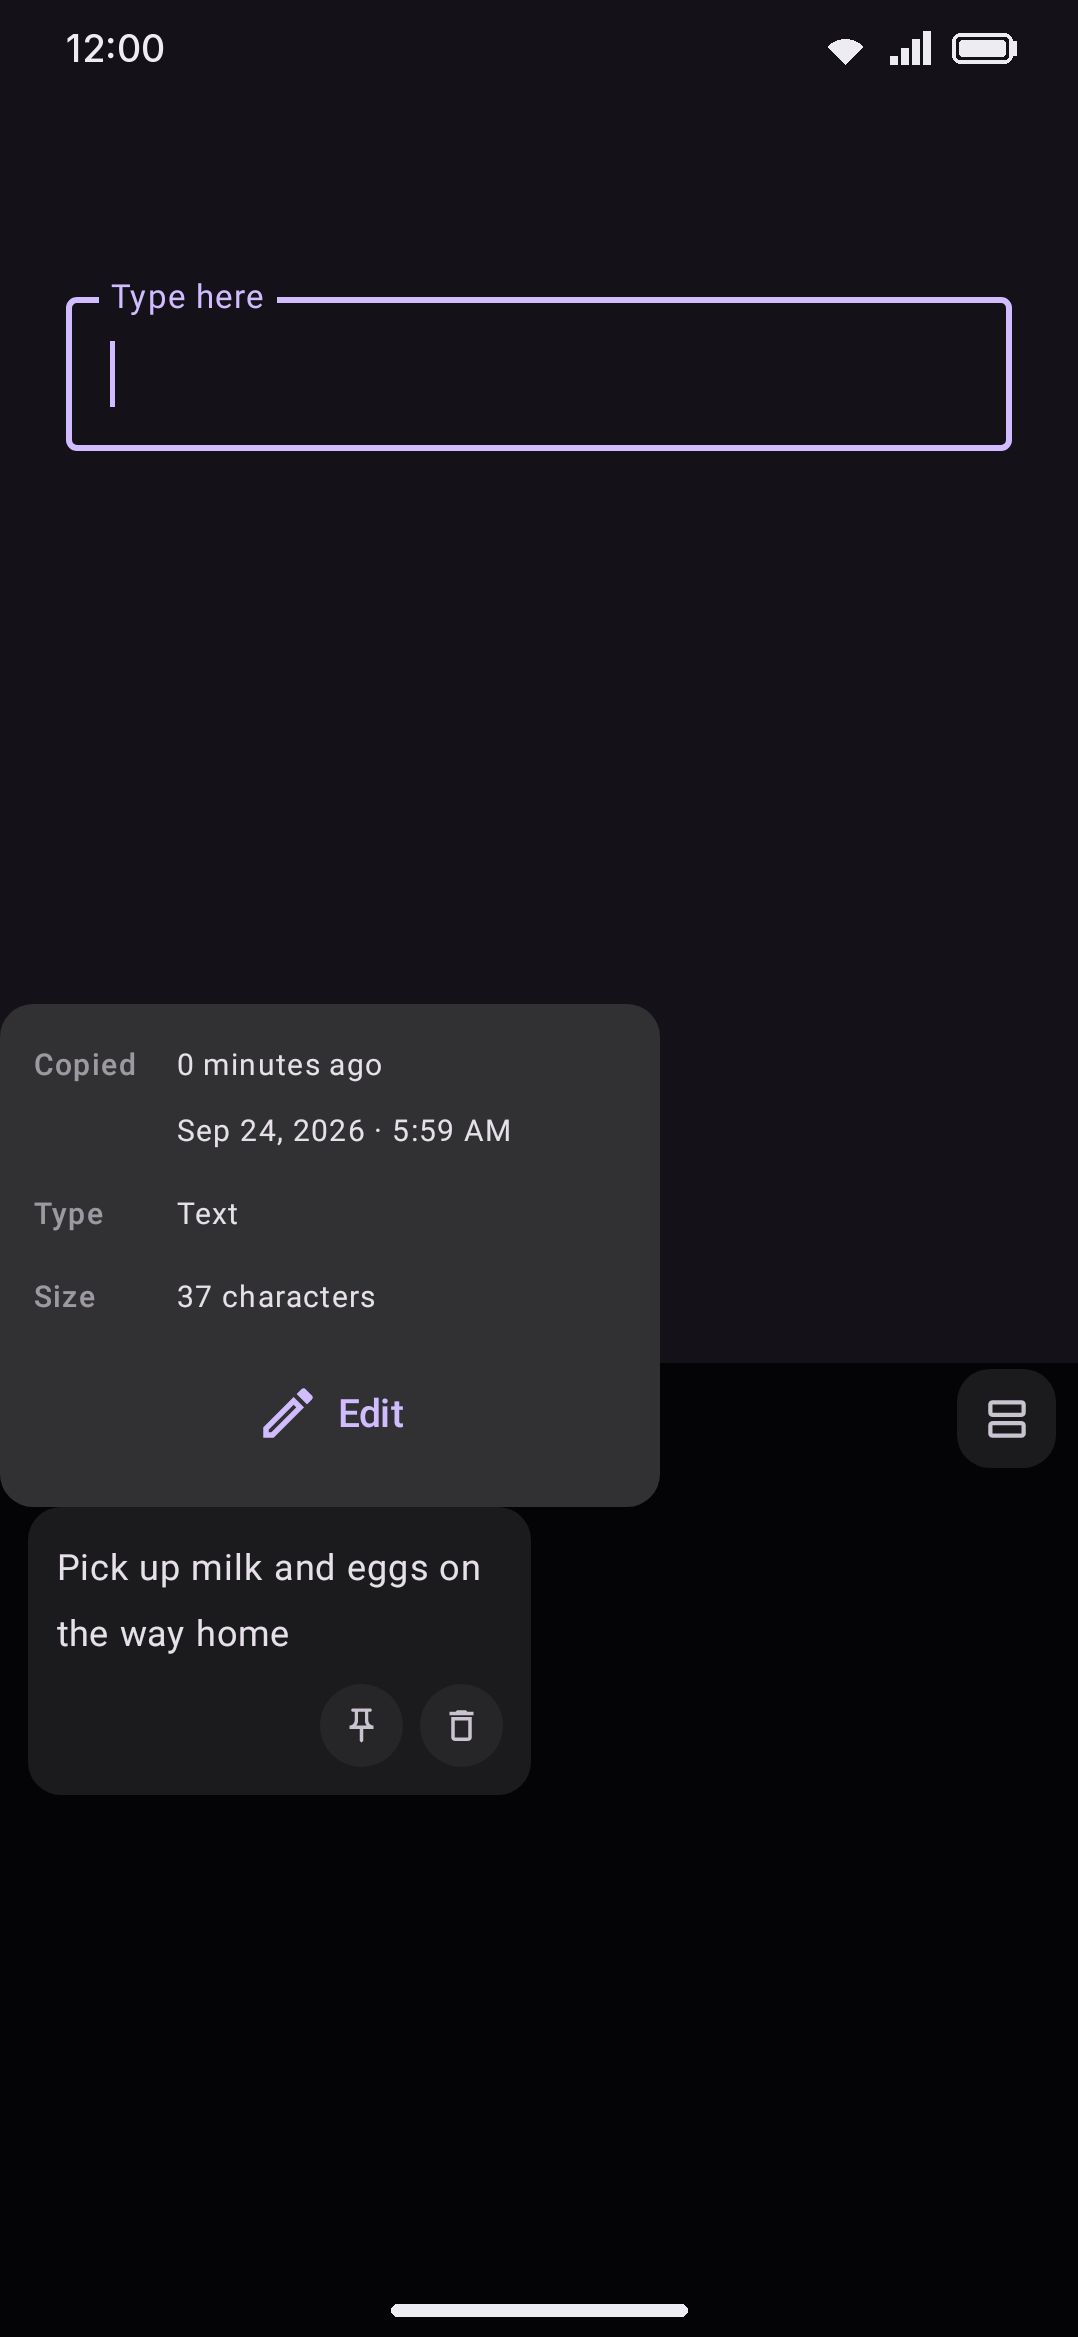
To see a clip’s info popup instead, press and hold its card. The popup gives the time it was copied, its type and size, and (if source tracking is on) the app it came from. Under the details sits a row of icons at the right end, the shapes every phone already uses, with Paste last, which does what a tap on the card does. Not sure what one of them is? Press and hold it and its name pops up over it; lifting your finger then doesn’t run it. The same goes for the buttons in the search box and the header, like the filter icon and the list or grid switch. Every clip gets Select (a checklist) to start picking clips and Reorder to put clips in your own order. Some clips get more:
- A text clip opens straight on its whole text, however long, in a box you can scroll, with every web address in it underlined in your theme’s accent colour (not with Keep formatting off, which shows everything as plain text). Under the text sits the same row of icons at its right end: ⓘ for the details described above (when it was copied, which app it came from, its type and length), select, reorder, edit, open link, extract parts, pin and delete as the clip and your settings allow, and Paste. If a clip offers more icons than fit, the row scrolls sideways. Tap anywhere outside to put it away. From the details, the page icon brings the text back.
- A clip with codes, phone numbers, links or places inside it gets Extract while entity detection is on. With one part found, it pastes that part. With more, it lists them in sections, Links, Places, Phone numbers and One-time codes, and a press on one pastes it. A hidden password or code has no such button, since the panel never shows its text.
- A link, a clip that is one web address and nothing else, gets Open link, which opens it in your browser. A hidden clip never does, since the browser would show what the panel hides.
- An image gets View, which shows the picture full screen: pinch or double-tap to zoom, drag to look around, tap or press Back to return to where you were typing. It also gets Send as sticker, which runs the picture through the sticker processor before it goes.
- An image also gets Extract text while the text scanner is on in your tools Full edition only. The scanner opens on the picture instead of the camera and reads it straight away, in the language you type in. The words come back as chips: keep the ones you want, then Copy puts them on the clipboard, where they become a clip of their own, or Insert types them. Scan again shows the picture with its language chip, so you can read it again in another language. The back button returns to the clipboard.
Picking several clips
Section titled “Picking several clips”Press and hold a clip and tap Select (the checklist icon). The clip is picked, a tick appears in its corner, and every other clip shows an empty ring: tap a clip to pick it or drop it, instead of pasting it. A bar over the history counts the picked clips and offers two things. Delete removes them all at once, with one Undo for the lot. Combine joins them into one new clip, below. The ✕ at the start of the bar stops picking. While you pick, the pin and delete circles and the swipes stand down, so nothing happens to a clip by accident.
Combining clips
Section titled “Combining clips”Pick two or more text clips and tap Combine. A box opens where the history was, with the keys back underneath, and you set how the clips are joined:
- Between the clips: what goes between one clip and the next. A space by default. The chips under it put in a Space, a New line, a Comma, a Semicolon or a Bar ( | ) in one tap, or type your own. In the box a space shows as ␣ and a new line as ⏎, so a single space is not an empty box.
- In front of them all: optional text that starts the new clip.
- Keep only the part that matches this pattern: optional. A regular expression; each clip then gives only the first part of it that matches, and a clip with no match is left out.
The clips join in the order you picked them, and a preview under the boxes shows the result as you type. Combine adds it to the top of the history as a new clip, and the clips you joined stay as they were. Whatever you typed in the three boxes is remembered for the next time. For example, to join two YouTube links into one line of video ids, pick https://m.youtube.com/watch?v=Z7pkvfRl5S8 and https://m.youtube.com/watch?v=A1bcdeFg2H3, then set the joiner to ; , the front to youtube.com/watch?v and the pattern to =[a-zA-Z0-9_]{11}. The new clip reads youtube.com/watch?v=Z7pkvfRl5S8; =A1bcdeFg2H3.
Tap a box to type into it. Enter in the first box adds a new line, in the second moves to the third, and in the third combines.
Putting clips in your own order
Section titled “Putting clips in your own order”Press and hold a clip and tap Reorder. The history turns into a list, one clip per line, each with a handle at its start. Drag a clip by its handle to move it up or down, or tap the arrow at the end of its line to send it straight to the top. Pinned clips move among the pinned ones and unpinned among the unpinned ones. Done goes back to the history.
A clip you moved stays where you put it. One you dragged to the top stays there even as you copy new things, which land just under it, so the clips you always want first stay first. Copying the same text again doesn’t move a clip you placed.
What gets captured
Section titled “What gets captured”Turning clipboard history off stops capture entirely. Even with it on, two things skip a copy: incognito being active and set to pause the clipboard, and a copy taken from a password field. Neither one reaches history, whatever else you have configured. Both go by the field that has focus when you copy. Once you leave a private-browsing field or a password box, a copy made somewhere else, such as a link copied off a browser’s address bar or a new screenshot, is captured as usual.
Clips are stored under seven kinds. The panel groups them like this:
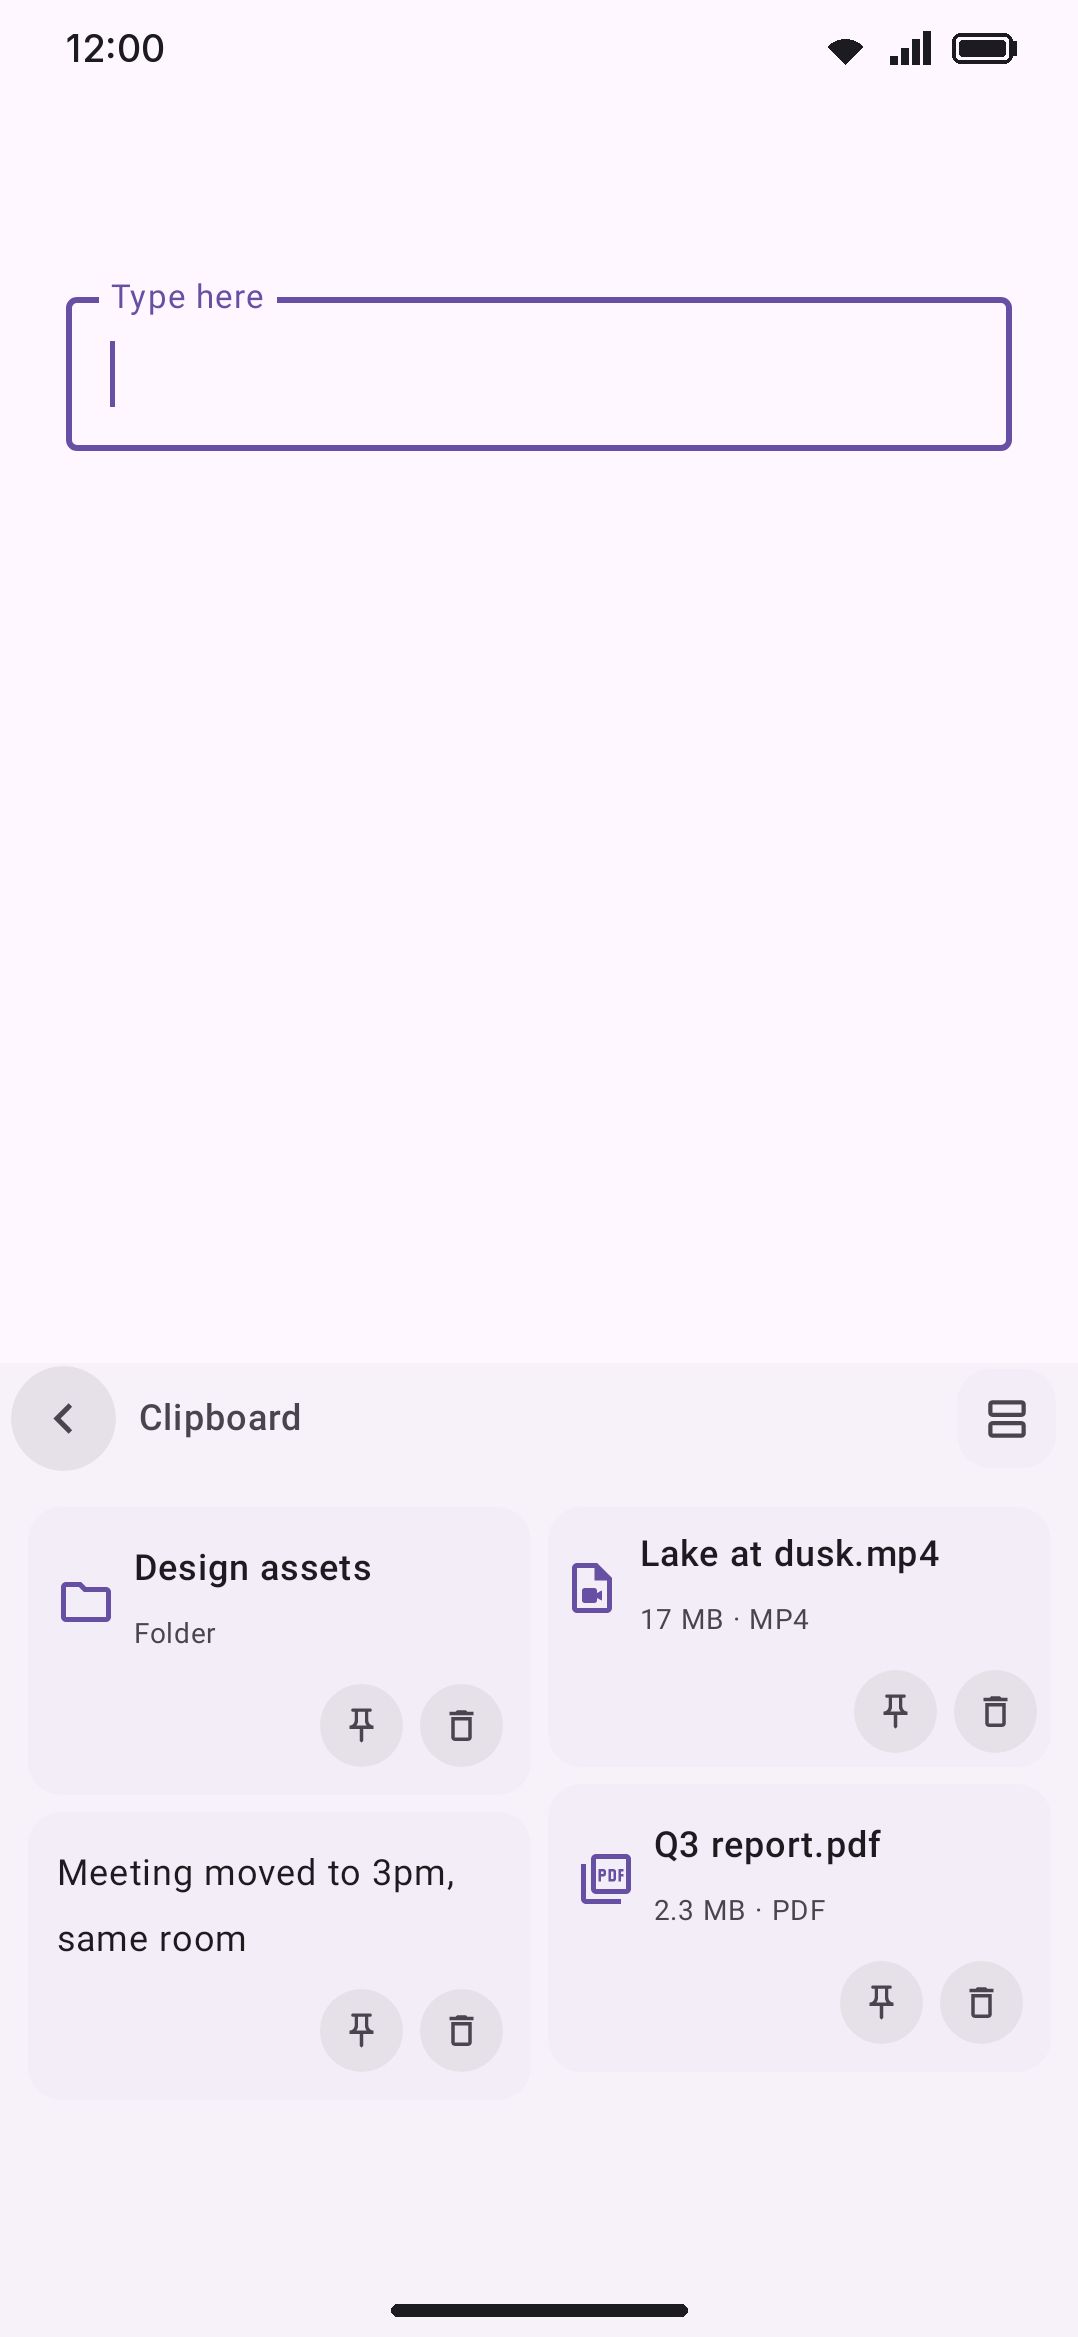
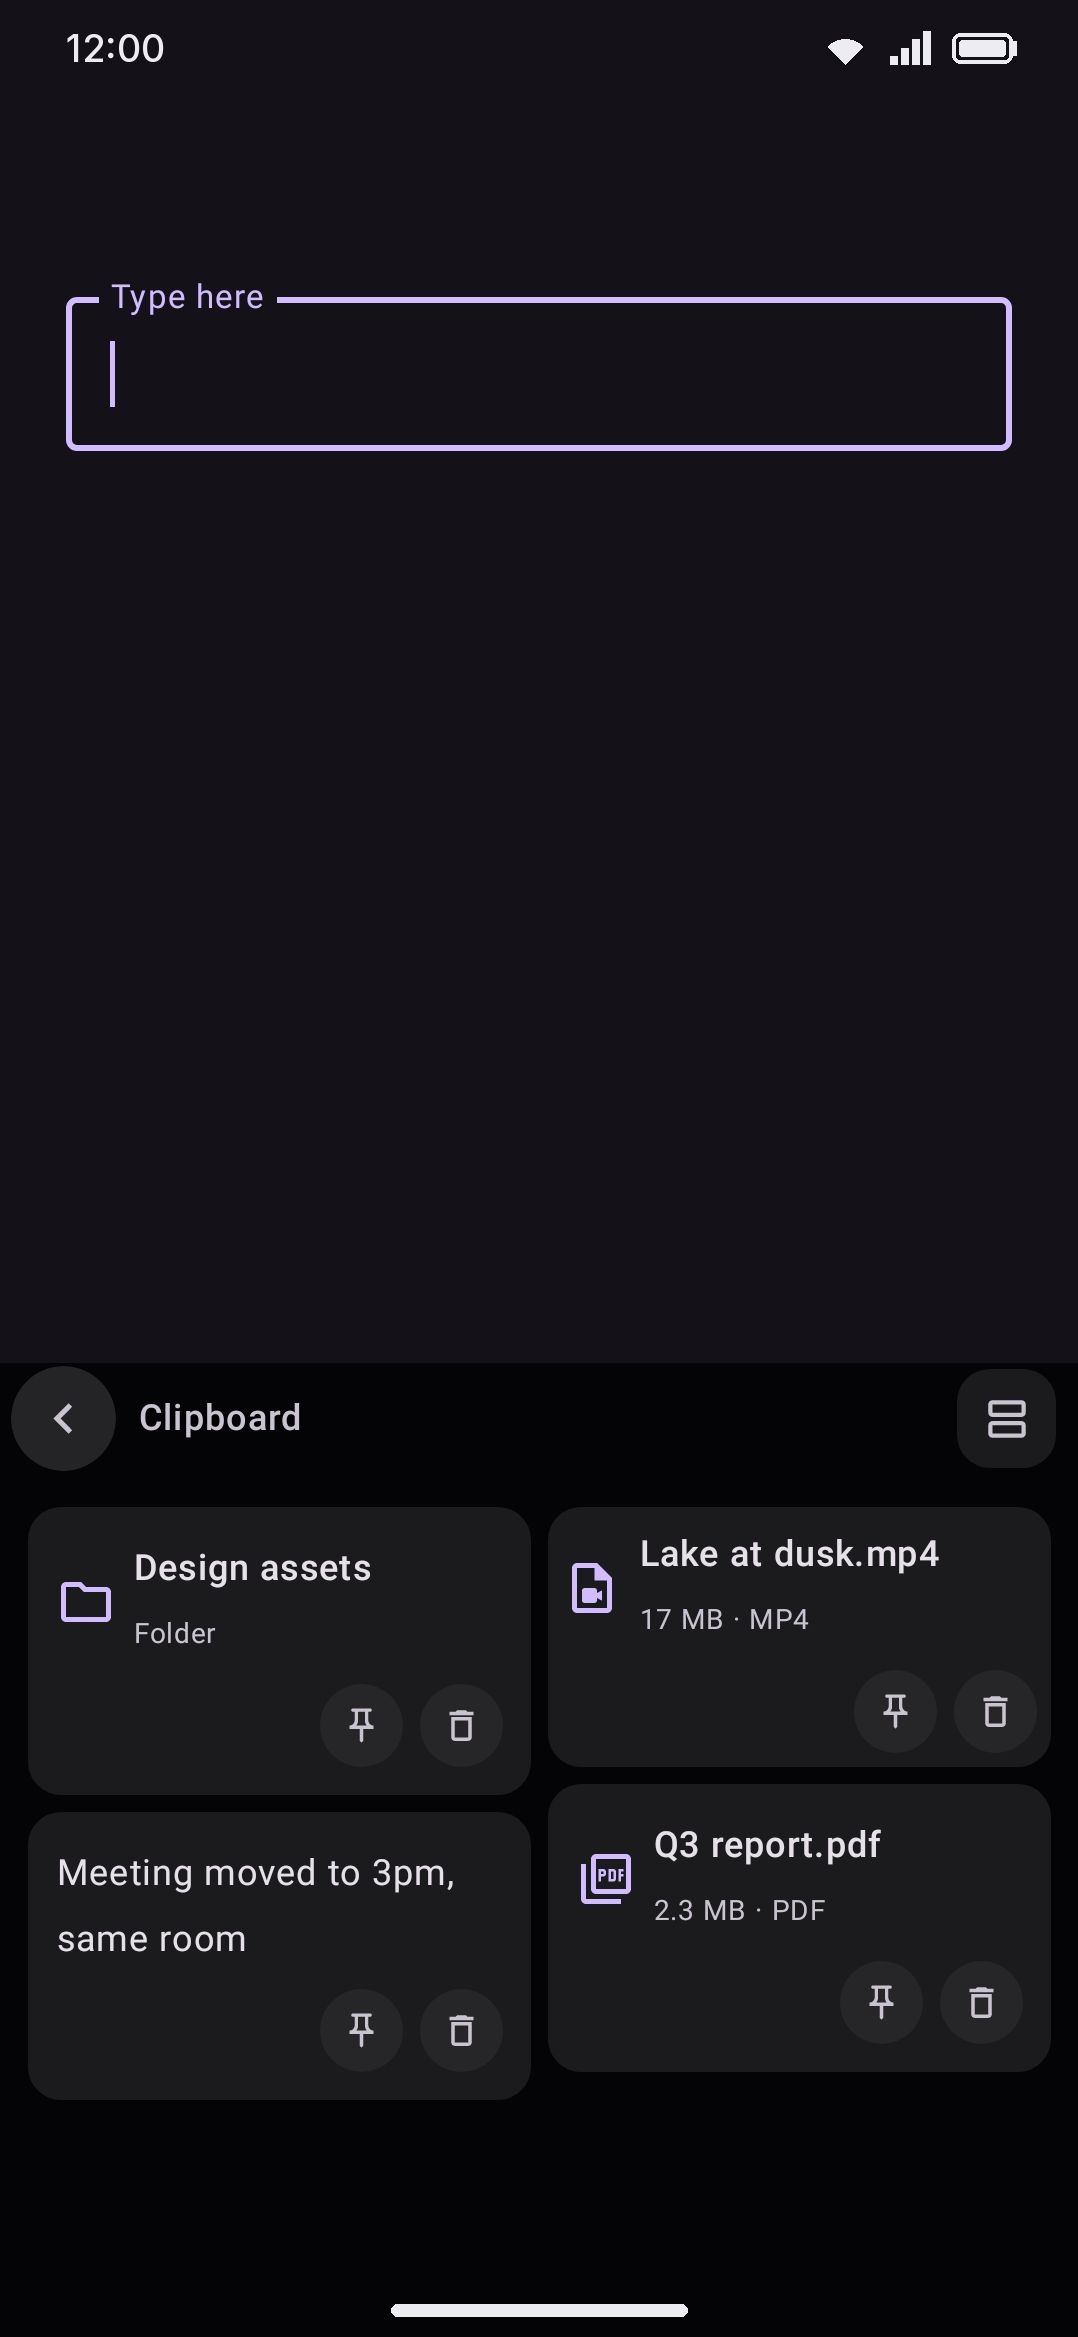
- Text and rich text: the plain content, shown as-is. A copied link with no preview is shown as the address itself, as many lines of it as Lines per clip allows, with no separate host line; with a preview, the title and description take its place and the address and host sit underneath.
- Links: shown as the raw URL, or as a fetched title and description if link previews are on.
- Images: copied into the app’s own storage, so the source app can discard its copy without losing yours. Also captures device screenshots directly, if you turn that on (not in the Play Store build).
- Files and videos: not copied. Only the file’s URI, name, MIME type and size are kept, so copying a multi-gigabyte video costs nothing. A video card even shows a frame grabbed from the very start of the clip instead of a blank icon. Copying several files or a whole folder at once keeps up to 20 items from that one copy.
- Folders: a reference, same as files. A folder can’t be attached to anything, so tapping its card types the folder’s name into the field and hands the folder’s URI back to the system clipboard for a file manager to use.
Tidying copies with rules
Section titled “Tidying copies with rules”WM Keyboard Clipboard Copy rules holds rules that change a copy before the history keeps it. Each rule is a pattern, a regular expression where case doesn’t matter, and what to put in place of every match. Leave the replacement empty and the match is removed, which is what most rules are for: https?://(www\.)? takes the front off every address, so https://www.github.com/wasi-master/wmkeyboard/ is kept as github.com/wasi-master/wmkeyboard/, and it works inside a longer copy too. A replacement can name a group of the pattern, like $1, to add to a match rather than only take from it.
Rules run in the order listed, each on what the one before left. Tap a rule to change it, use its switch to turn it off without losing it, or the bin to delete it. The Try the rules box at the bottom shows what a copy you paste into it would be kept as. A clip its app marked as a password is never changed.
By default the rules change only what the history keeps, and what the keyboard pastes from it. Turn on Change the system clipboard too on that screen and a copy a rule changed is put back on the system clipboard as changed, so the paste menu of every app gets the tidy text.
Pasting rich media
Section titled “Pasting rich media”Tapping an image, file, or video card negotiates a MIME type with the focused field. The keyboard offers the clip’s own type, and sends it via commitContent when the field advertises that it takes one. If the field wants PNG but the clip is a static WebP, it converts on the fly. Animated WebP is left alone, so an animation is never silently flattened into a still. If nothing matches, the item goes back onto the system clipboard and a toast tells you to paste it there. That happens when the field takes no rich content at all, or when the permission to read the file has lapsed.
Expiry and the entry cap
Section titled “Expiry and the entry cap”Unpinned clips fall off two ways. WM Keyboard Clipboard sets an expiry in hours, where 0 turns expiry off. It also caps how many unpinned entries history keeps at once, and once that cap is hit the oldest unpinned clip drops with each new copy. Set the cap to Unlimited and only the expiry removes clips. Pinning a clip exempts it from both. A pinned clip never expires and never counts against the cap.
A third limit is on the length of each clip, and it starts off. Longest clip kept keeps all of what you copy by default. Set it (1,000 to 100,000 characters; Gboard cuts at 20,000) and a longer copy is stored cut to that length, so a copied book doesn’t fill the history and every backup of it. Rich text that gets cut is stored as plain text, since its formatting no longer matches. Only the history is cut: the system clipboard still holds the whole copy, so an app’s own paste is unchanged.
Finding a clip again
Section titled “Finding a clip again”Turn on the search bar and a search pill appears at the top of the panel, once you have at least one clip. Tap it and your keystrokes go to the search field instead of into your document, the same trick the emoji panel uses. The panel shrinks to just the field and its results while you type, and the bar on top drags it taller if a couple of rows of results isn’t enough.
Matching is a case-insensitive substring search, and it reaches past a clip’s own text. A clip with no text of its own is still found by what it is: “image”, “picture” or “screenshot” for a copied picture, “video”, “movie” or “recording” for a clip, “folder” for a folder. The file format works too, because all of that is indexed alongside the file name, the source app and any link preview’s title and description.
Filtering and sorting
Section titled “Filtering and sorting”The filter icon at the end of the search pill opens a row of chips under it, without starting a search. The first chip flips the history between Newest first and Oldest first. The rest show only some clips: All, Pinned, Unpinned, Text, Links, Images or Files. A filter works with or without a search, and on top of the tabs. While anything is set the row stays up, so a short history always shows why. Both reset when you close the panel.
Regular expressions
Section titled “Regular expressions”The .* button beside the search pill, or Regular expressions under Options, turns on pattern search, and the button is lit while it’s on. The search then reads what you type as a pattern instead: ^https finds clips that start with a web address, \d{6} six digits in a row, invoice|receipt either word. Case still doesn’t matter, and ^ and $ hold on to the clip’s own text, not the words it’s indexed under. A pattern you haven’t finished yet, such as an open bracket, searches as plain text until you have, so the results don’t vanish halfway through typing it.
Pulling codes and links out of a clip
Section titled “Pulling codes and links out of a clip”Turn on entity detection and the panel scans your recent clips for one-time codes, phone numbers, links and places. A place is a pair of coordinates, a Plus code or a geo: link; a map link stays a link. The Location tool reads both kinds and can turn them into an address, a different map’s link, a saved place or a compass bearing. Each one becomes a dashed-outline chip above the history grid, so the six digits inside a verification text are one tap away rather than a copy-select-paste. A chip is one line: the kind’s icon and tag, then the part itself. Tapping a chip pastes just that fragment and leaves the full clip in place. Press and hold a chip to see it highlighted inside the message it came from.
The ✕ at the end of the chips folds the strip away, and it stays away. A scissors button beside the search, with a count of the parts found, brings it back.
With Show the found parts as icons on each clip on, the chips give way to icons on the clips themselves: a link, a pin, a phone or a code icon at the end of each card’s bottom row, for each kind found in it, with a small number when there’s more than one. Press an icon to paste its part, or, when it counts more than one, to pick from the list. Every clip shows its own parts this way, not only the newest few the chip strip has room for.
With Copy picked parts to the clipboard on, a part you pick, from a chip, an icon or Extract, is copied as a clip of its own instead of typed, ready to paste wherever you need it.
With Show the found parts on the suggestion strip on, you don’t have to open the panel at all. Copy something with a code, a number or a link in it, and the suggestion strip shows the whole copy as a chip followed by a dashed chip for each part, the way FlorisBoard and FUTO Keyboard do. Tap a part to paste just it. The chips hold the strip until you type something or press the ✕ at its end; after that the words come back, with the usual chip for the copy beside them. It’s off by default.
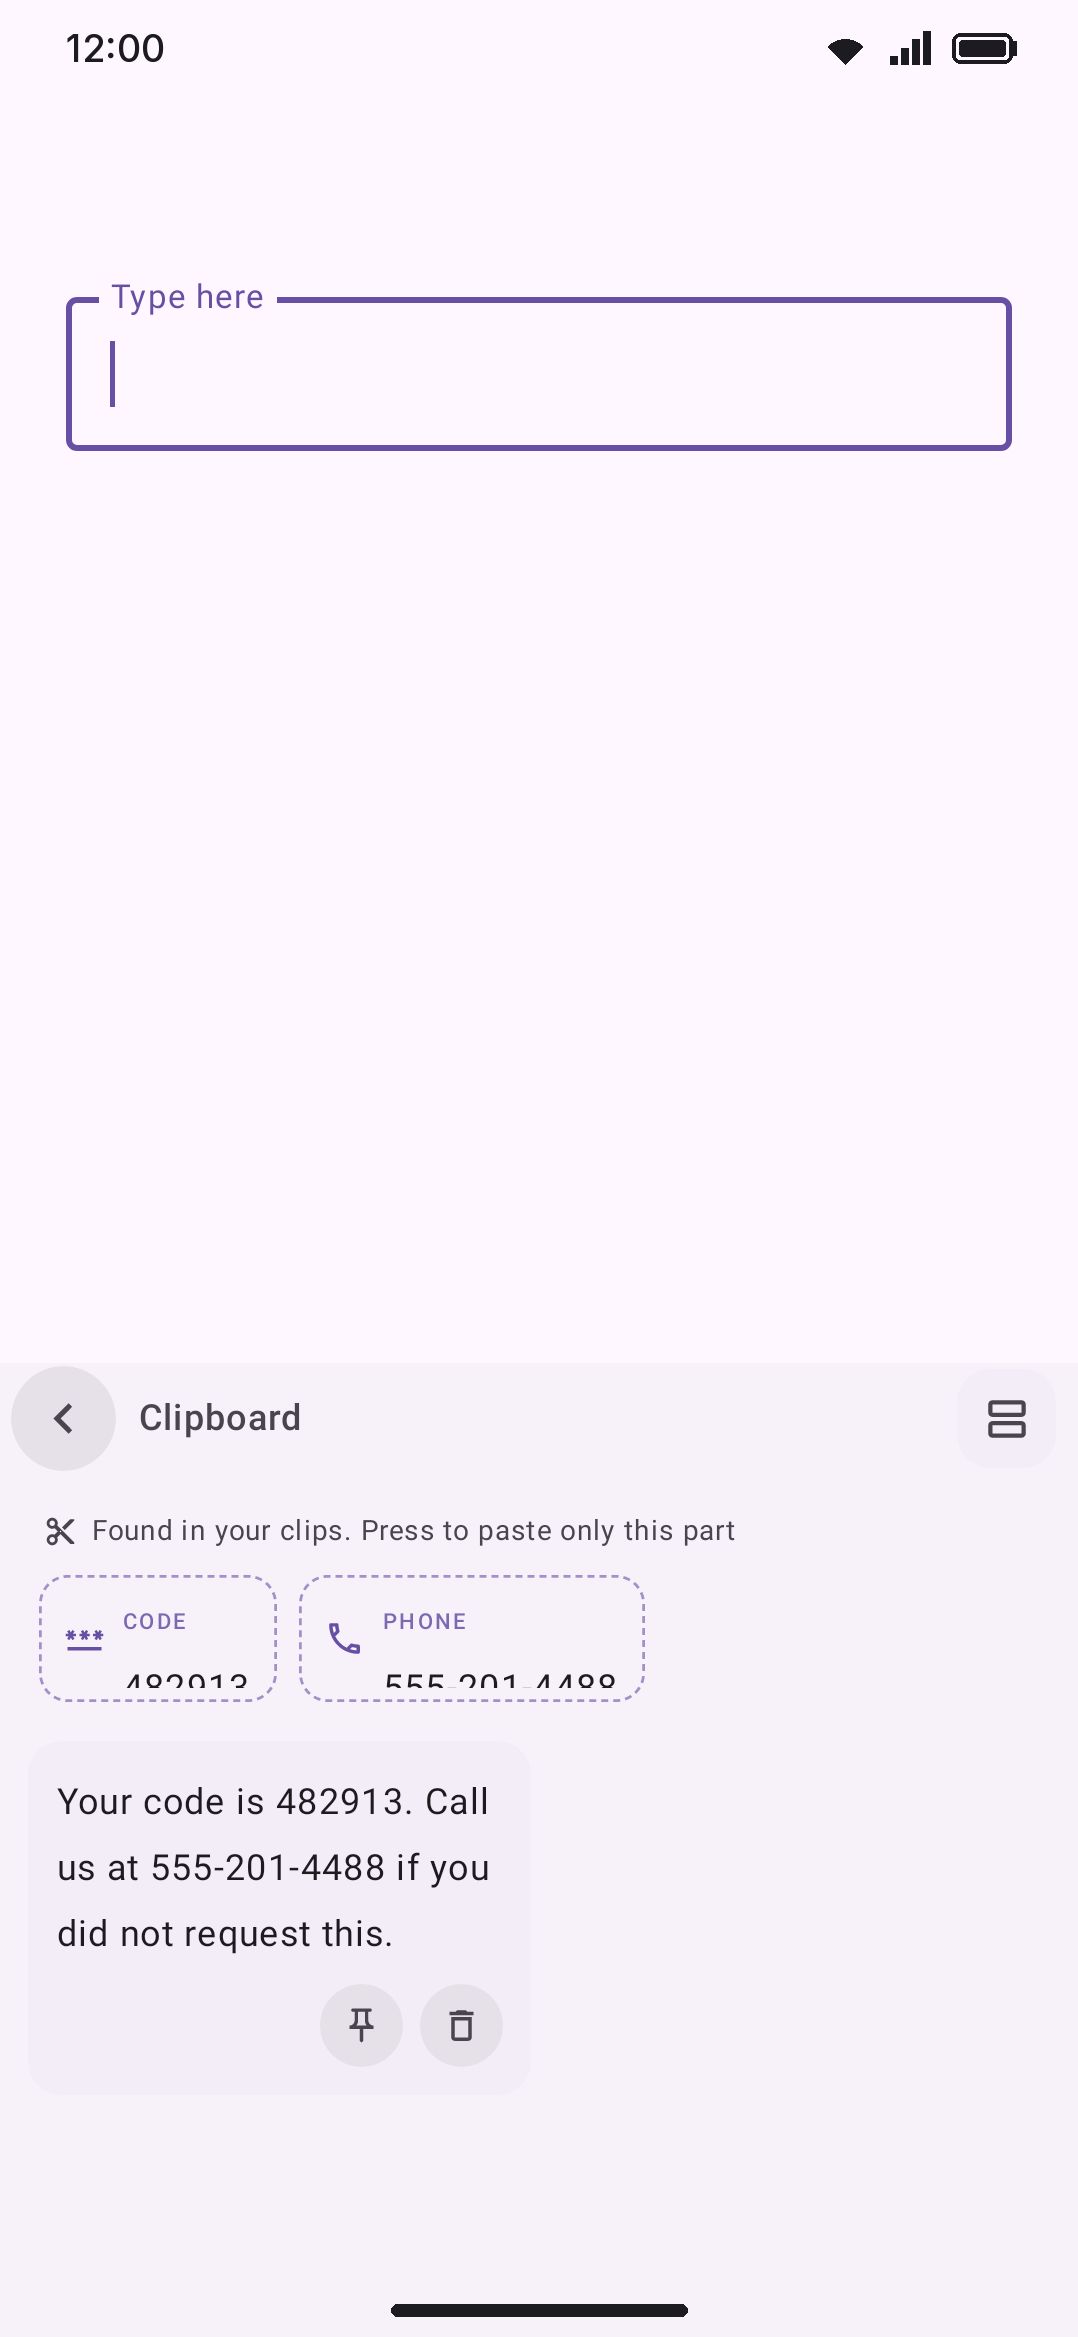
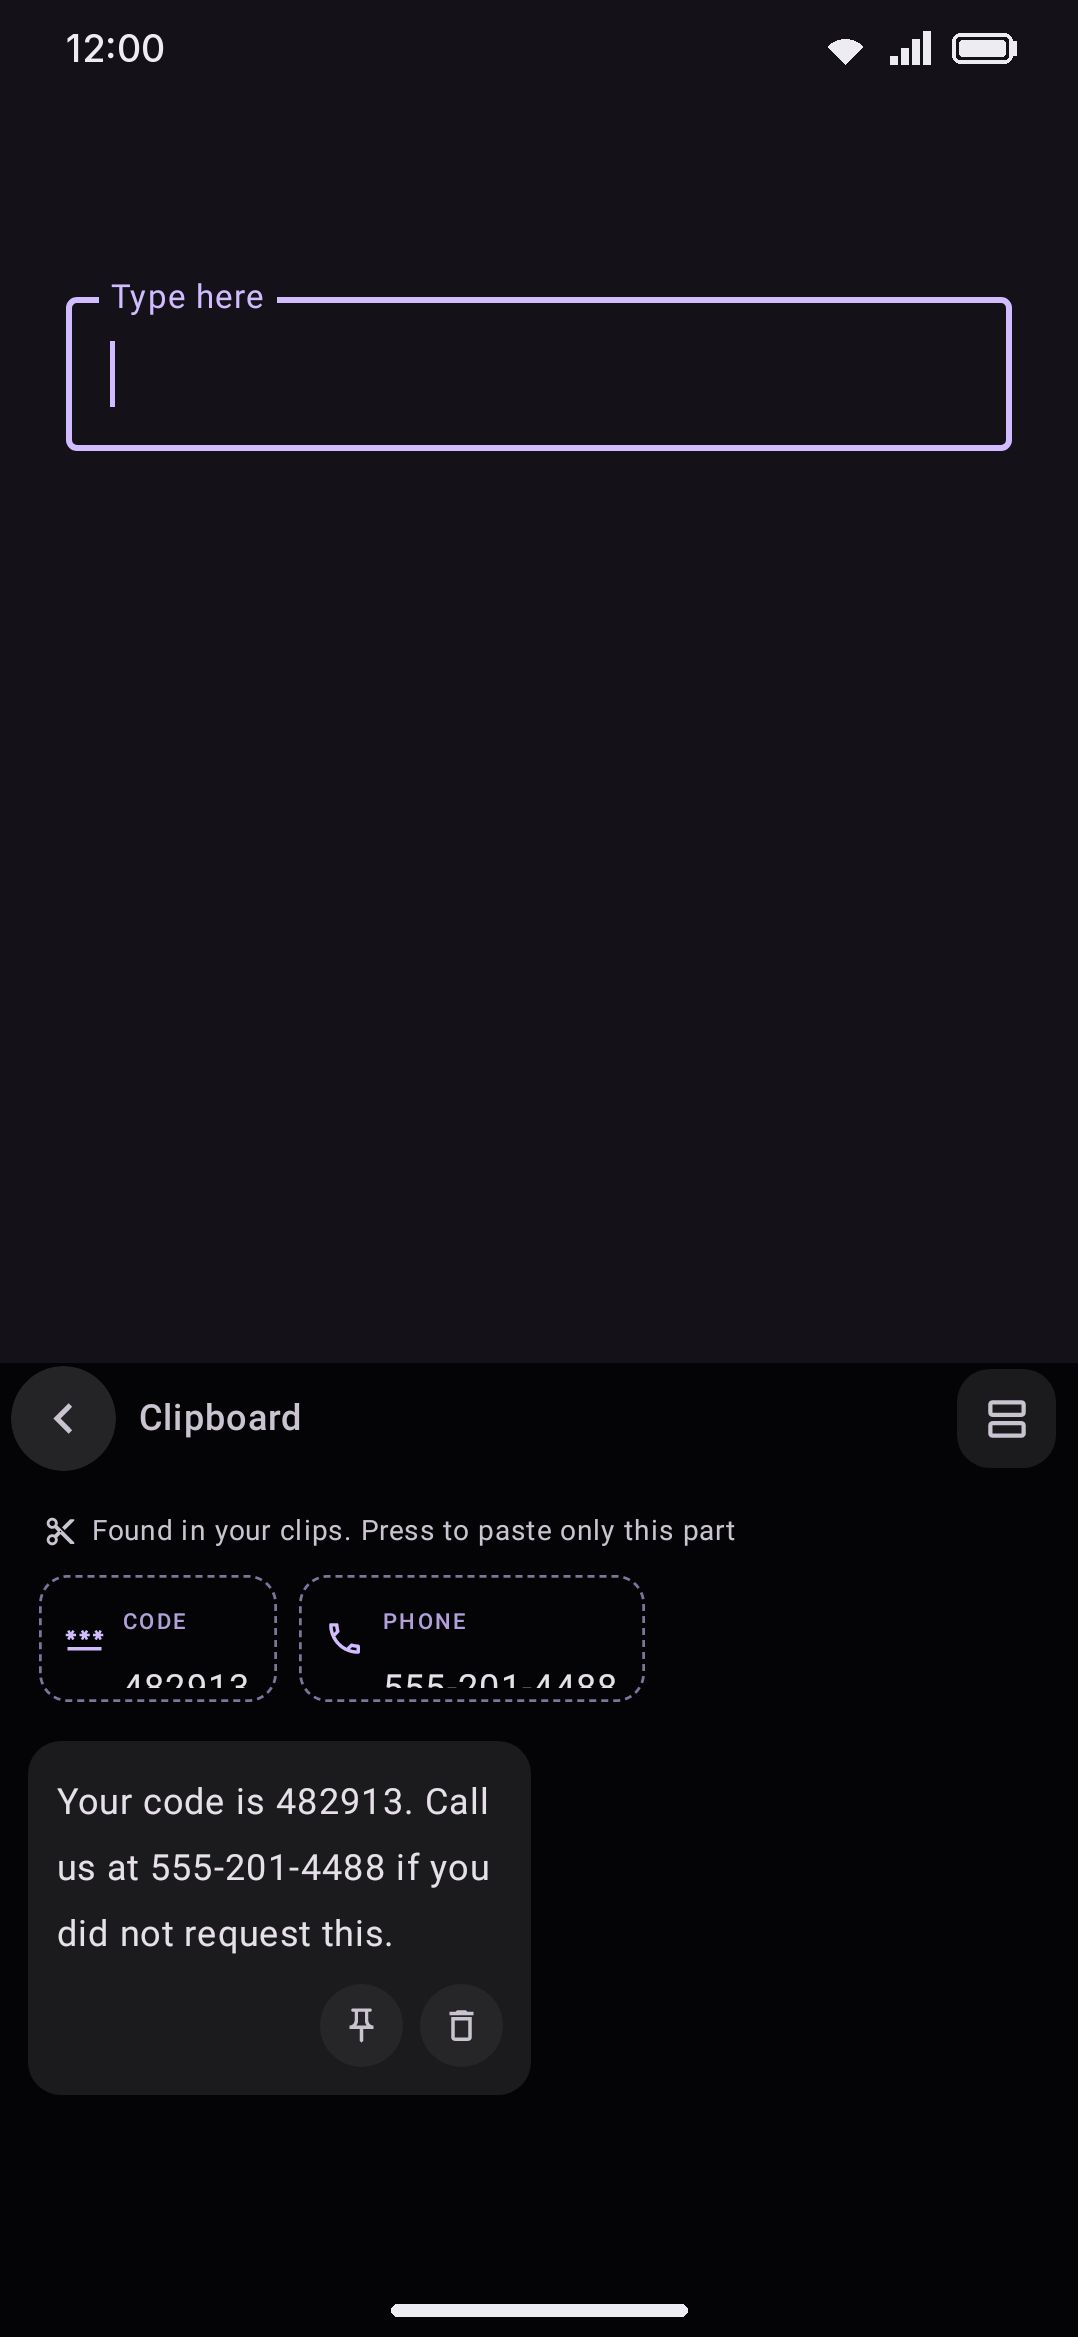
Detection is conservative on purpose. A 4-digit year is never mistaken for a code, and a run of digits after a currency symbol or a # is never mistaken for a phone number. Google’s G-123456 verification prefix is stripped, so only the code itself pastes. Unless Show the found parts on the suggestion strip is on, pulling a fragment out of a longer message is the panel’s job. The suggestion strip only ever offers a copied code when the clip is the bare code, which is the Suggest copied codes rule under Options.
Phone numbers are the one fragment with no shape of their own, so they get an extra setting. Without it, anything with 7 to 15 digits counts, which is how an invoice total or a tracking number ends up wearing a phone chip. The list starts with one format for your own country, worked out from your phone’s region. Open Phone number formats from the clipboard settings to change it, or to add the second country you copy numbers from. Give it a number you copy often. The screen turns that into a format like +880 1XXX-XXXXXX: it keeps the dial code and makes the rest wildcards, and you can type digits back over a wildcard to pin it. After that, only numbers matching one of your formats become chips.
The matching is forgiving about the things people vary and strict about the things they don’t. Spaces, hyphens, brackets and dots are ignored on both sides. The same format accepts the number with its country code, without it, or with a leading 0 in its place. What it won’t accept is the wrong length, the wrong leading digit, or an explicit + naming a different country. There’s a test field on the screen, so you can paste a number in and see the answer before you trust it. Add as many formats as you like, one per country you deal with, and delete them all to go back to catching everything. Phone number formats is the field reference for that screen: the mask characters, the length bounds, and every bit of leeway spelled out.
This entity strip is a different mechanism from Smart chips, which reacts to what you’re currently typing rather than to what you’ve copied. The two look alike, both dashed outlines, but they share no code.
Passwords are handled deliberately
Section titled “Passwords are handled deliberately”The clipboard tool can treat a copied password or code as sensitive in two independent ways: at copy time, and at paste time. Both are off out of the box, so a password you copy is kept, shown and pasted like any other clip. They’re here for when you’d rather it wasn’t.
At copy time, WM Keyboard Clipboard Passwords and codes chooses what happens to a clip Android itself marks sensitive. That’s the flag a password manager sets when you copy a login. You can keep it like any other clip (the default), hide it and forget it quickly, or never save it at all. Hiding and forgetting is the one to pick if you want this at all. Never saving would trade away the everyday “I pasted a password into the wrong field” recovery, and it closes a risk a short timer already closes. Turn on recognizing sensitive clips yourself and the same handling covers anything that merely looks like a password or a bare code. That’s for managers older than the flag, or a code you copied by hand, and it’s narrow enough that a sentence, a link or an email address never qualifies.
A hidden clip shows as a row of dots and a character count in the panel, and it’s never revealable there. It’s also left out of the strip’s paste chip, the entity strip and the settings backup. It expires on its own timer, independent of the ordinary history expiry above and not capped by it. Pinning a sensitive clip overrides all of that, the same as pinning anything else. Switch back to keeping them like any other clip and the clips that were hidden turn back into ordinary ones.
At paste time, turn on forgetting after a password paste. The clip is then deleted from history the moment you paste into a password field, and from the system clipboard too if that still holds exactly what you pasted. Every paste route fires it: a tap on a card, the strip’s paste chip, a pasted entity chip, a long-pressed V, the text-editing panel’s Paste, and a hardware Ctrl+V. So the rest of an SMS can’t sit on the clipboard after you’ve pasted only its code.
Options
Section titled “Options”Everything below lives on the Clipboard screen, under Features on the settings home screen, rather than on the tool page. Your copies land in the history whether or not the panel’s button is on the toolbar, so these aren’t really the tool’s settings.
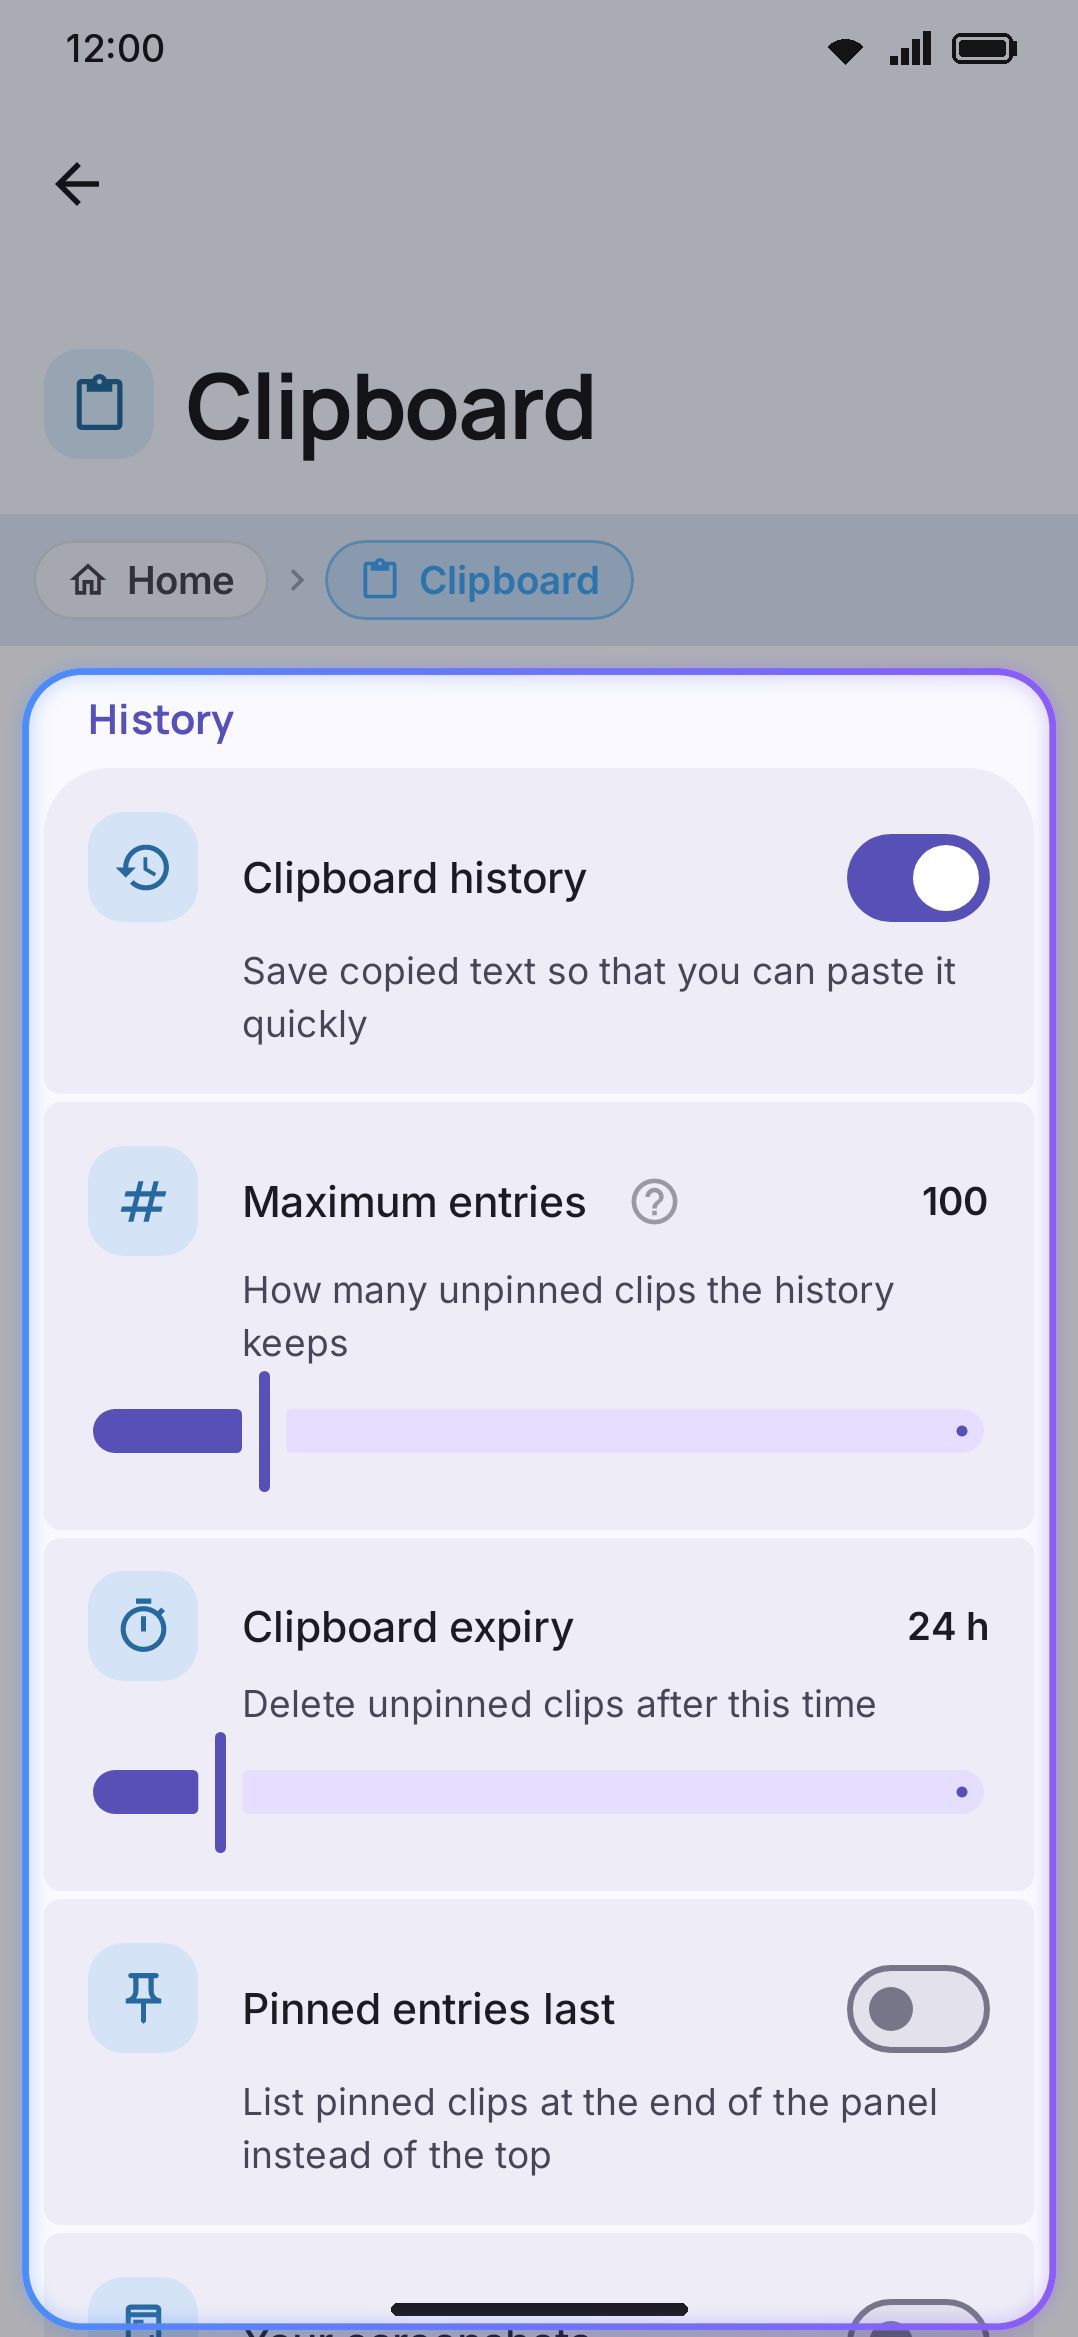
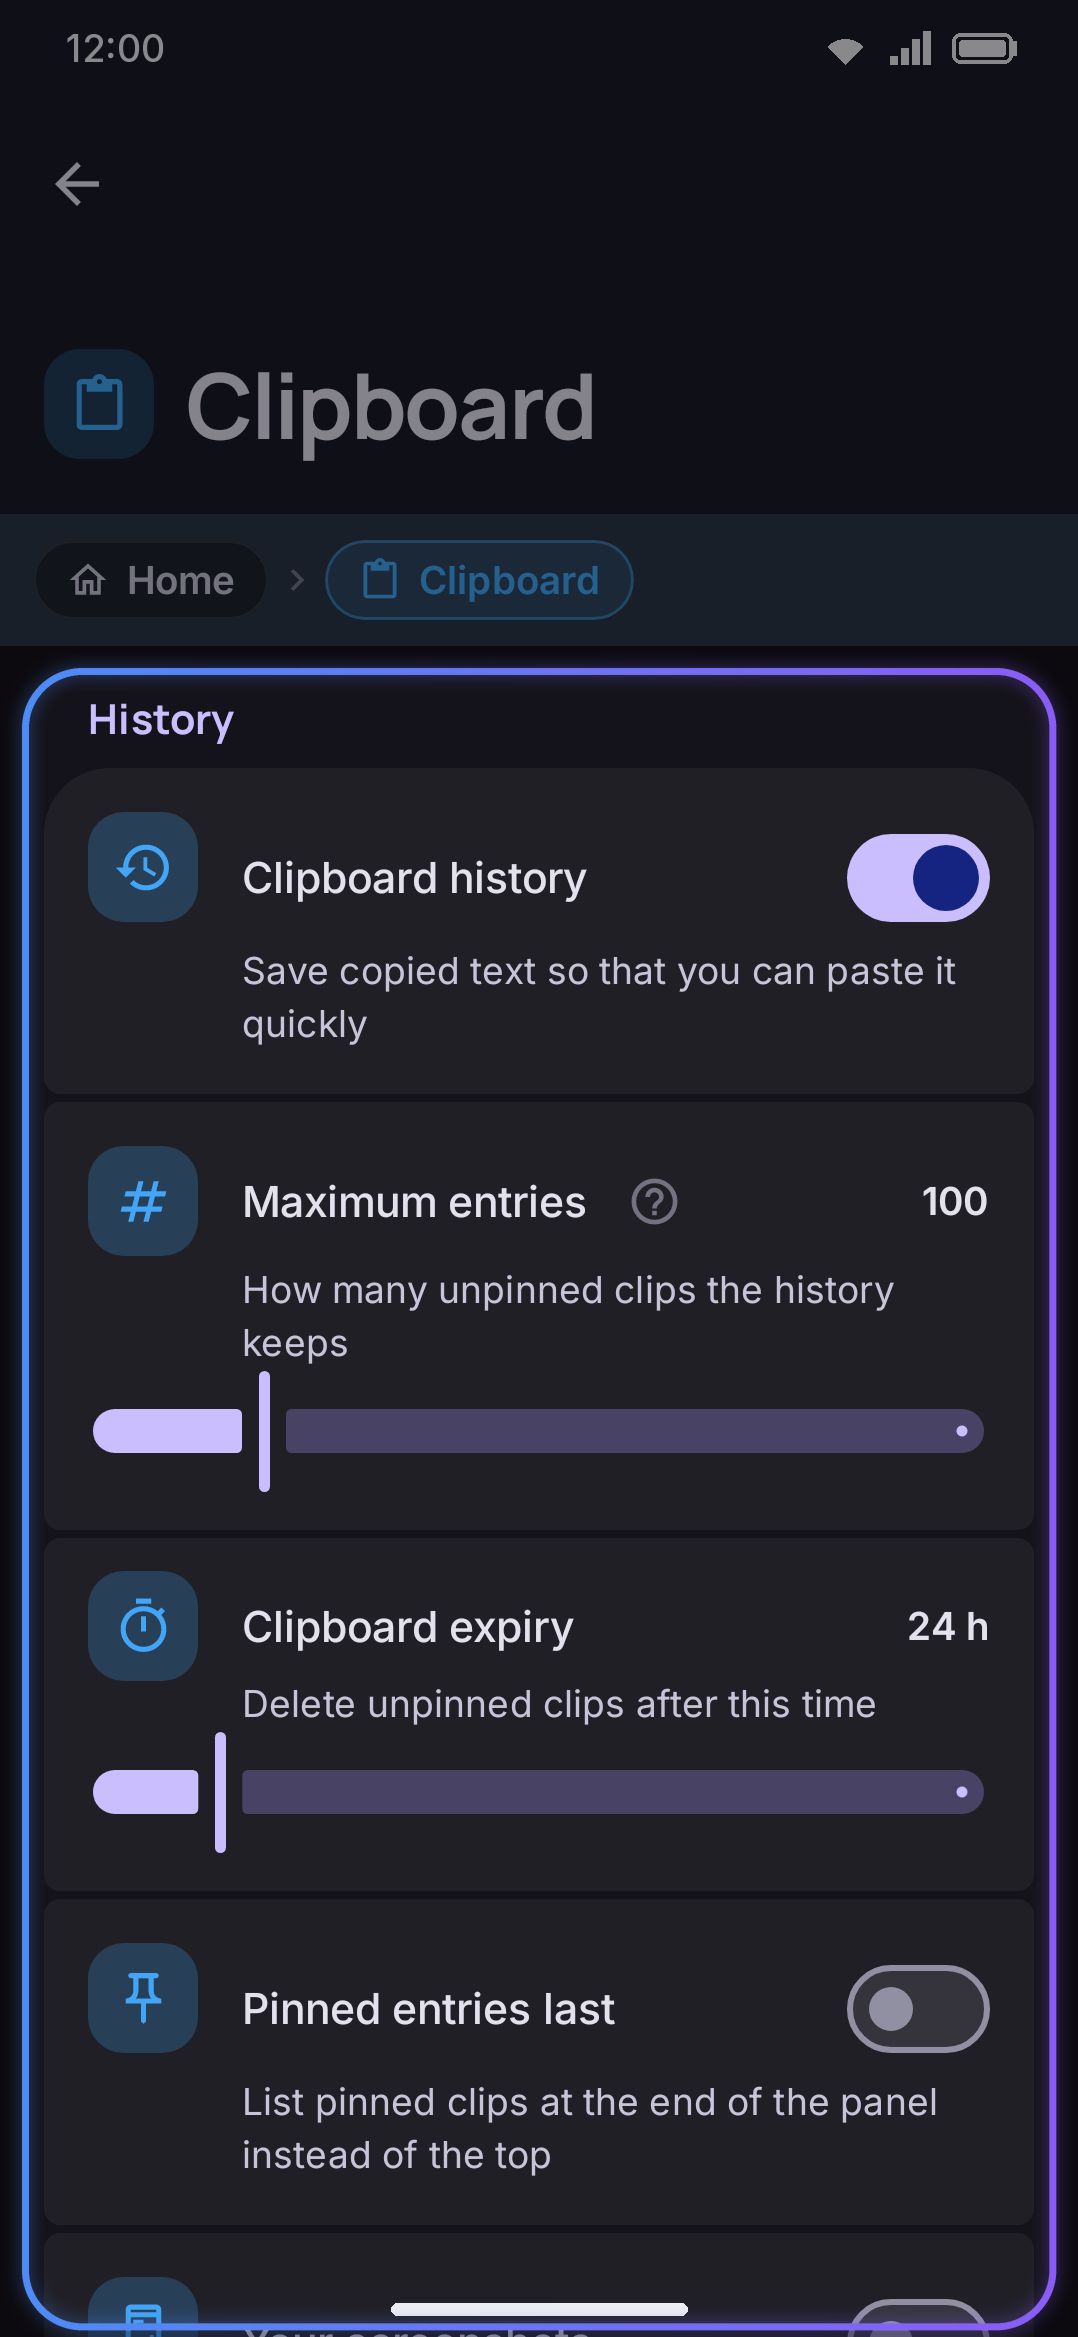
History, in the order the rows appear:
- Clipboard history: master capture switch, on by default.
- Suggest the last copy: offers your latest copy as a paste chip on the suggestion strip. On by default. The chip is as wide as what it holds, so a short copy is a short pill with its ✕ right beside it; a long one stops at about half the strip and ends in an ellipsis.
- How long the paste chip stays: 30 s to 30 min, default 5 minutes, or Until dismissed at the bottom of the slider. Shown only while “Suggest the last copy” is on. Typing never dismisses the chip, since it’s meant to survive writing the message you’ll paste into. Shorten it if you’d rather a copied password or address stopped being on screen.
- Recent copies on the strip: 1 to 5, default 1, shown only while “Suggest the last copy” is on. At 1 the strip offers the single paste chip above. Set more and the chip gets a clock button beside its ✕. Tap it and the strip shows that many of your latest text clips, newest first whatever is pinned, as a row of chips you can scroll sideways, each a tap from pasted. The row never opens by itself, and it stays up until you type, tap its ✕, or move to another field, so you can paste several in a row. Hidden (sensitive) clips never appear in it.
- Suggest copied codes: Any field by default, and only shown while “Suggest the last copy” is on. A code on its own is otherwise treated as a secret and kept off the strip, since the chip sits in view while you type something else. A code you copied by hand is the case that rule was never aimed at: you copied it to paste it, and it sits one tap away in the clipboard panel either way. Code boxes only narrows it to fields that ask for a code (a number keypad, or a name like “OTP” or “verification code”) if you’d rather a code never showed up over the keys of a message, and Never keeps the strip clear of codes entirely. Only a bare code qualifies at any setting. A copied password is never offered.
- Pop-up when you copy: off by default. It lives in this group but it isn’t a history setting at all, see below.
- Clipboard expiry: hours before an unpinned clip is removed, 0–168, default 24 hours (0 means never).
- Maximum entries: how many unpinned clips history keeps, from 5 to 5,000 in steps, default 100, or Unlimited at the end of the slider. Unlimited leaves the expiry as the only limit; with the expiry set to never as well, nothing is deleted, and a very long history makes the panel slower to open.
- Longest clip kept: No limit (default), or 1,000 to 100,000 characters in steps; a longer copy is stored cut.
- Panel layout: opens the panel’s layout in the layout editor. The search box, the grid or list switch, the strip of copied fragments and the history are cells you can move and resize, and any key can join them: an abc, space and backspace row along the bottom, say, which is what the old “Bottom control row” switch used to add. A layout made with that switch on carries over.
- Full-screen clipboard panel: on by default, so this is what the panel does unless you say otherwise. The history takes the whole keyboard, and a slim back header stands in for the toolbar, the emoji row and the symbol row. Picking the right clip gets easier the more of them are on screen, which is why that trade is the default. Start a search and the panel drops back to its compact size so the keys fit underneath. Turn it off to keep the toolbar visible while the panel is open.
- Panel height: how much taller than the keyboard the panel opens, up to 600 dp more, default Same as keyboard. The same setting as the bar on top of the panel.
- Height over the keys: how much taller the panel opens while the keys are under it, stacked or searching, up to 400 dp more, default Compact. Every panel over the keys shares it, and dragging the bar on any of them sets it.
- ABC, space and enter keys: off by default. Adds a row along the bottom of the panel: ABC back to the letters, a space bar, and enter. Paste a link and press enter to open it, or paste several clips with a space or a new line between them, without going back to the keys each time. Enter shows the field’s own action, Go or Send, the way it does on the keyboard. The row steps aside while the clipboard is stacked over the keys, since the real keys are right there. It only changes the panel as it ships: if you’ve edited the Panel layout, add the keys there instead.
- History layout: Grid (default) or List, the same choice as the switch in the panel.
- Grid columns: 1–4, default 2. Greyed out while the history is a list.
- Lines per clip: Auto (default: six on a card, three in a row) or 1–20.
- Line spacing: 100% to 200%, default 130%. How far apart a clip’s lines sit.
- Time on each clip: None (default), Time copied or Time left. See Columns, lines and times.
- Number the clips: puts a number beside every clip; off by default.
- Pinned and unpinned tabs: splits the history into two tabs; off by default.
- Outline pinned clips: a thin accent border around each pinned clip; off by default.
- Pin and delete buttons: the pin and bin circles on every clip; on by default. Off, Pin and Delete move into the clip’s press-and-hold popup, and a card with no number, time or rich text tag loses its bottom row.
- Type out pasted clips: pastes a clip one character at a time, as if typed, the way a one-time code goes into a row of code boxes; off by default. A clip longer than 200 characters is pasted all at once. Bare codes are typed out either way, under the control of the One-time codes setting.
- Rich text tag: the small “Rich text” label under a clip that was copied with formatting; on by default. Off, the label goes, and a card with nothing else on that row loses the row.
- Keep formatting: on by default, so a copy that came with bold, links or other formatting pastes it back into apps that take it. Off, every copy from then on is stored as plain text, pastes as plain text everywhere, and never wears the tag. The panel then draws every clip as plain text too: a link loses its colour, its underline and the icon in front of it. Clips already in the history keep what they have.
- Swipe to delete: a sideways swipe across a clip deletes it; on by default. Off, the swipe does nothing and a Delete button joins the clip’s press-and-hold popup. The bin works either way, while Pin and delete buttons is on.
- Swipe to pin: shown while swipes are on. Both ways delete by default. Right pins, left deletes or Left pins, right deletes part the two directions: one pins or unpins the clip and lets it slide back into place, the other deletes.
- Undo a deleted clip: shows the Undo bar for a few seconds after you delete a clip with the bin or a swipe; on by default. Off, a delete is immediate and final.
- Ask before deleting a pinned clip: deleting a pinned clip, by the bin, a swipe or the press-and-hold popup, asks first; unpinned clips still go at once. On by default.
- Pinned entries last: moves pinned clips to the end of the panel instead of the top; off by default. Greyed out while the tabs are on.
- Search bar: enables the search pill described above; off by default.
- Regular expressions: shown while the search bar is on, off by default. On, the search reads what you type as a regular expression. The same switch as the
.*button beside the search. - Clear button: the bin that deletes every unpinned clip after asking, and empties the system clipboard unless it holds a pinned clip; off by default.
- Detect codes, numbers and links: enables the entity chips; on by default. Detection runs entirely on the device.
- Show the found parts as icons on each clip: off by default, and only while detection is on. Icons with counts on each clip in place of the chip strip.
- Copy picked parts to the clipboard: off by default, and only while detection is on. A picked code, number or link is copied rather than typed.
- Copy rules: a nav row to the rules that tidy every copy. Its subtitle counts your rules.
- Phone number formats: a nav row, shown only while detection is on, opening the mask editor covered in Phone number formats. Its subtitle counts your saved formats, and says every number becomes a chip once you have deleted them all.
- Forget after you paste a password: the paste-time purge described above; off by default.
- Link previews: fetches a copied link’s page title and description directly from the linked site; off by default, and the toggle’s own description says so plainly.
- Your screenshots: shows device screenshots in the panel alongside copied text and images; off by default. While it’s on without the photos permission granted, a row appears underneath to open system settings. The Play Store build has no such row: Google Play only allows the photos permission to apps that can’t use the photo picker for their main job, so that build doesn’t declare it, and screenshots reach the clipboard only the usual way, by copying one. GitHub and F-Droid builds keep it.
- Show the source app: records which app a clip was copied from, for the long-press info popup; off by default, and needs the Usage Access permission. It’s a best-effort guess of the foreground app at copy time, not a precise log. It gets the same “grant this” row underneath until you do.
Passwords and codes
- Keep the keyboard’s copies private: off by default. On, text you copy or cut with the keyboard’s own keys, tools and panels never goes to the system clipboard, where any app can read it. It goes into the history instead, and the keyboard’s paste keys and the panel paste it. The copy and paste menu of other apps doesn’t see it. Since Android’s “Copied” bubble can’t appear for a copy it never saw, the keyboard shows its own sign instead: the selection is let go with the cursor left at its end, and the copied text comes up as the paste chip on the suggestion strip, as a system copy does. It’s the always-on form of Keep copies in the keyboard, which holds only while incognito is on and records nothing in the history.
- Sensitive clips: keep (default), hide-and-forget, or never save. See above.
- Let the keyboard find them: extends sensitive handling to clips that merely look like a password or code; on by default, shown only when sensitive handling isn’t set to “keep.”
- Forget sensitive clips after: the hidden-clip timer, 1–120 minutes, default 5; shown only under the hide-and-forget option.
The tool page carries only what belongs to the button:
- All clipboard settings: opens the screen above.
- Enabled: whether Clipboard appears on the toolbar and in the toolbox.
- Icon colour: only shown if colorful tool icons is turned on globally. Overrides just this tool’s icon color.
- Keyword shortcut: the words that make the Smart chips suggestion offer to open this panel.
Backups and exports
Section titled “Backups and exports”The whole-app config backup has its own Clipboard section, off by default when you export. It only ever includes pinned and recent text clips. Images and files are deliberately left out, since they live on the device they were copied on and wouldn’t open anywhere else. Sensitive clips are excluded from an export regardless of that toggle.
Details & edge cases
Section titled “Details & edge cases”- Every toggle and slider on this screen carries the usual restore button once you’ve moved it off its shipped value, so the rows that grew one are the ones you’ve changed.
- The panel stays open when the app changes the text of the field you’re in by itself, such as a browser address bar’s clear button, or the pencil that copies the page address into the bar for editing. Moving to a different field still closes it.
- The clipboard tool needs the device to have been unlocked at least once since restart. Its history lives in credential-encrypted storage, so it sits out any lock-screen or pre-unlock typing until then.
- Ships the same way in the full and lite editions, except Extract text on an image clip, which needs the full edition’s text scanner.
- Link previews make a direct, unauthenticated request to whichever site you copied a link from, not through any of the app’s own network services. Turn that setting on and the site sees a request from your device the moment you open the panel with a fresh link in history.
- A file or folder clip is only as good as the URI permission grant behind it. If that’s lapsed by the time you tap it (the source app cleared its cache, for instance), pasting puts the URI back on the system clipboard with an explanatory toast rather than failing silently.
- “Pop-up when you copy” appears in this same screen’s History group but is actually a feedback setting. It’s about the keyboard’s own copy shortcuts (A/C/V/X and the text-editing panel’s copy button), not clipboard history. It only fires in fields that give no copy feedback of their own, and it’s off by default.
- Pausing capture while incognito is on is a separate Incognito setting, not part of this screen. So is keeping the keyboard’s copies off the system clipboard while incognito is on; Keep the keyboard’s copies private on this screen does the same all the time.